SuiteCRM Roles and Users: A Complete Guide to Permission Management
In this guide, I’ll show you how to set up SuiteCRM Roles and Users to enhance team efficiency and security.
With your SuiteCRM system up and running, you are likely in the process of integrating your team into the system. Different roles within your company may require specific permissions, and SuiteCRM provides roles, security groups, and user management to handle these needs. Today, we will focus on SuiteCRM Roles and Users.
In this tutorial, you’ll learn how to create and configure roles in SuiteCRM, assign permissions, and set up new users. By the end of this guide, you’ll be able to customize user access and streamline your team’s workflow. For a detailed walkthrough, you may refer to my tutorial video.
Create a Role
Setting Up a Role
To start with the role creation, navigate to the Admin area of your SuiteCRM system. Under Users and Authentication, you’ll find various options. Select Role Management.
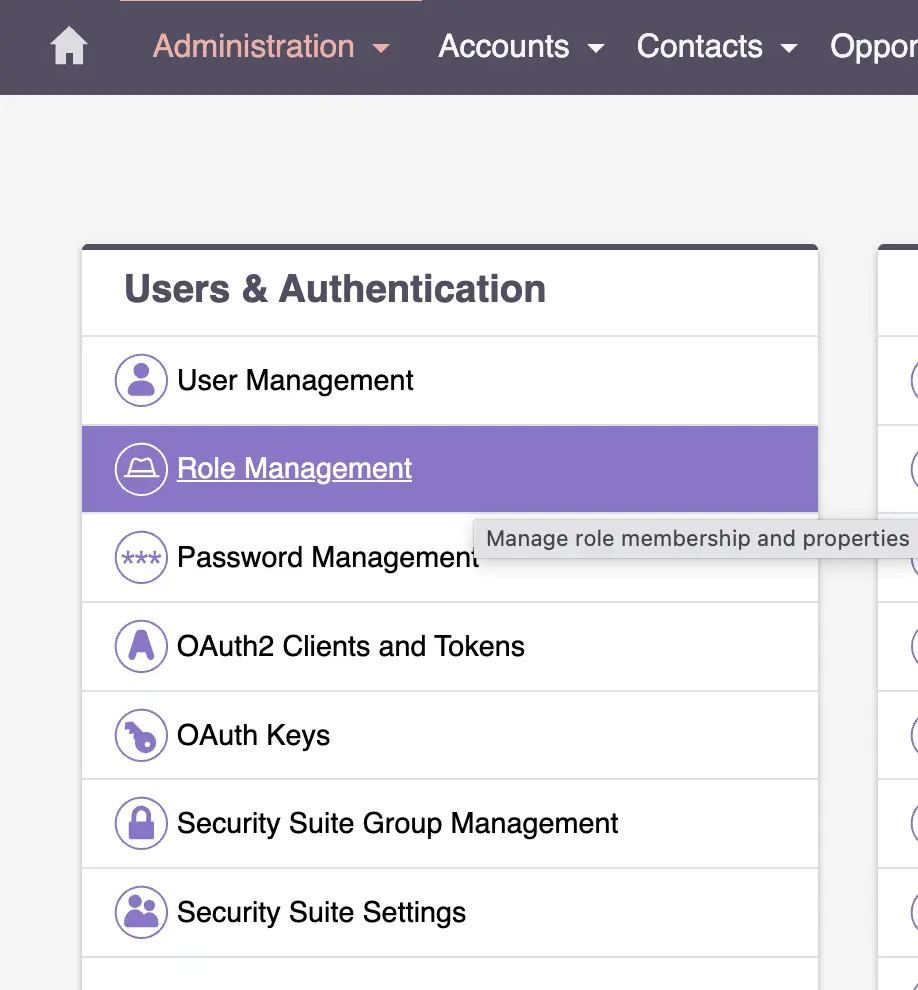
When you first install SuiteCRM, roles are usually empty, meaning everyone has the same permissions. SuiteCRM is designed to be very open, allowing almost every action for all users by default.
Typically, users are classified as either standard or administrative users. However, there are no predefined roles for more granular permissions.
Click New to create a new role. For instance, you might need a role specifically for your sales process, such as a contractor responsible for generating leads.
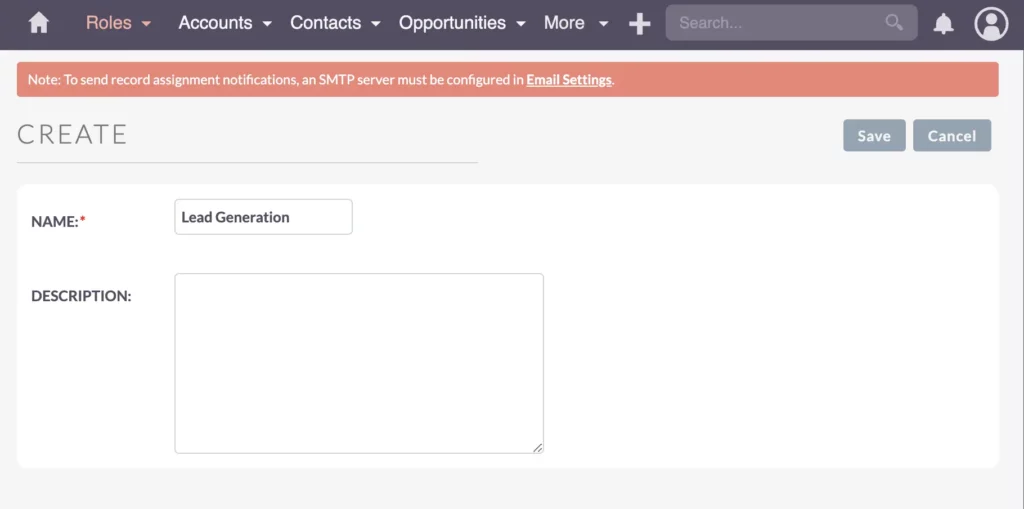
Name this role “Lead Generation.” This role will allow the user to log in and enter leads but restrict them from working with other data.
Configuring Permissions
Configuring Role Permissions
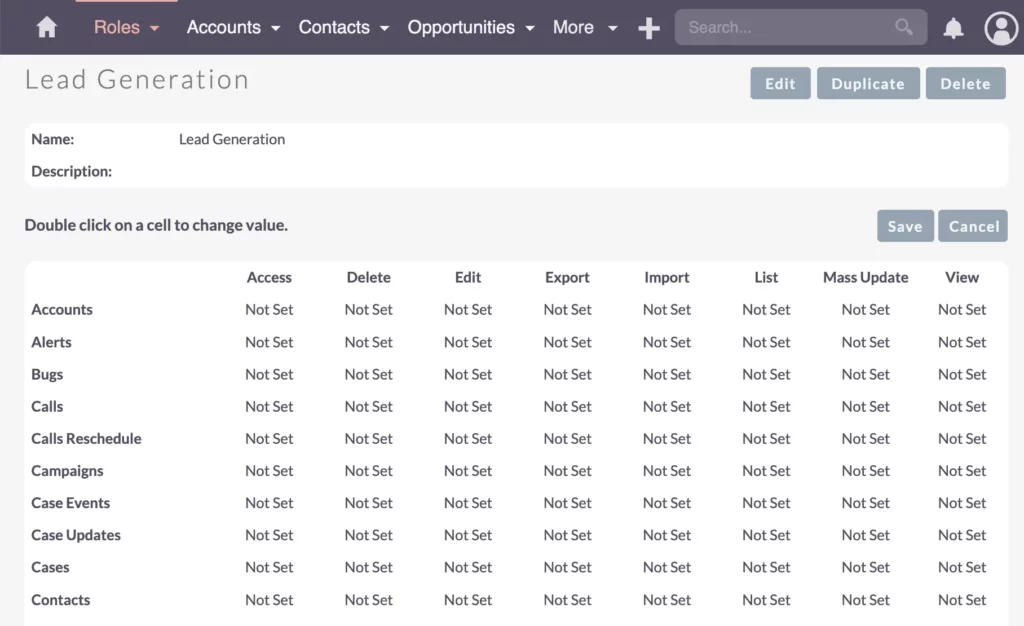
With the “Lead Generation” role created, it’s time to configure permissions.
In the role settings, you can control access to various modules. The simplest approach is to initially disable all permissions. Double-click the Access column to disable everything, then selectively enable permissions for specific modules.

For the “Lead Generation” role, disable all modules except Leads. Within the Leads module, allow the user to view and edit their own leads but restrict them from deleting records. This setup ensures the user can correct typos without the risk of deleting important data.
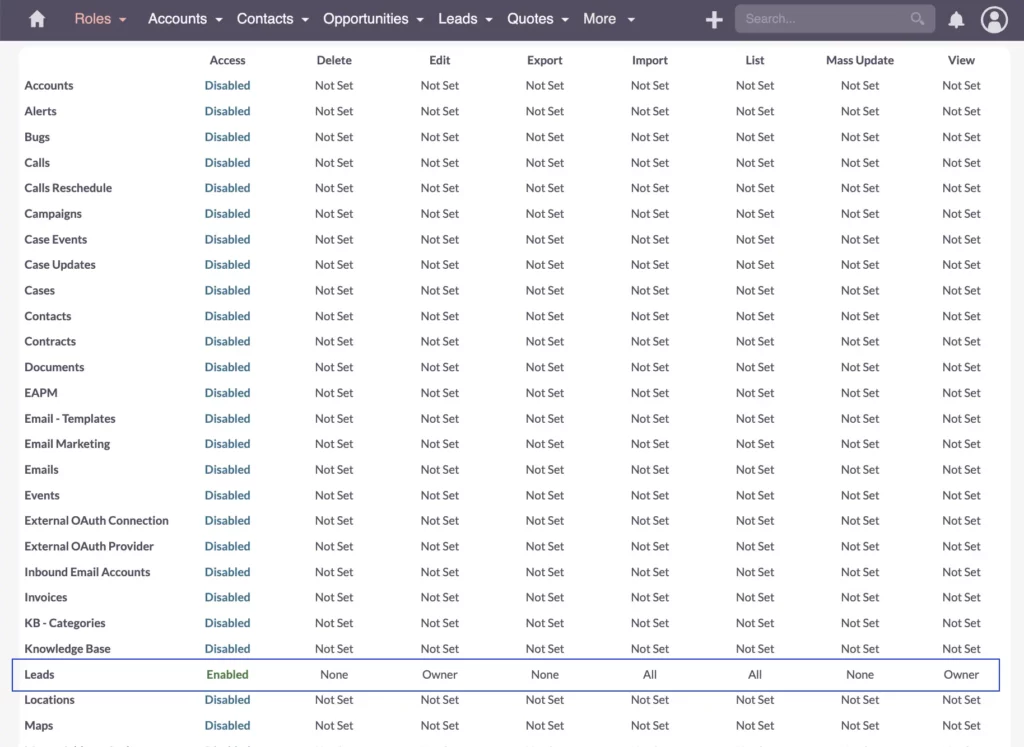
Disable permissions for exporting data, as this role is not responsible for exporting or analyzing data outside the CRM. However, enable importing data to facilitate the user’s workflow. Grant list view permissions to help avoid duplicates by allowing a quick search before entering new records.
There is one special module in SuiteCRM, which is the notifications.
It’s included on the navigation bar and requires access permission, even directly after the login. Grant access to that one as well, in order to avoid error messages after login.
One more setting to consider is the group setting, which is covered in detail in the SuiteCRM Security Groups video. Be sure to check that out for a comprehensive understanding of security group configurations.
Adding a New User
Now, let’s move on to creating a new user to assign the role.
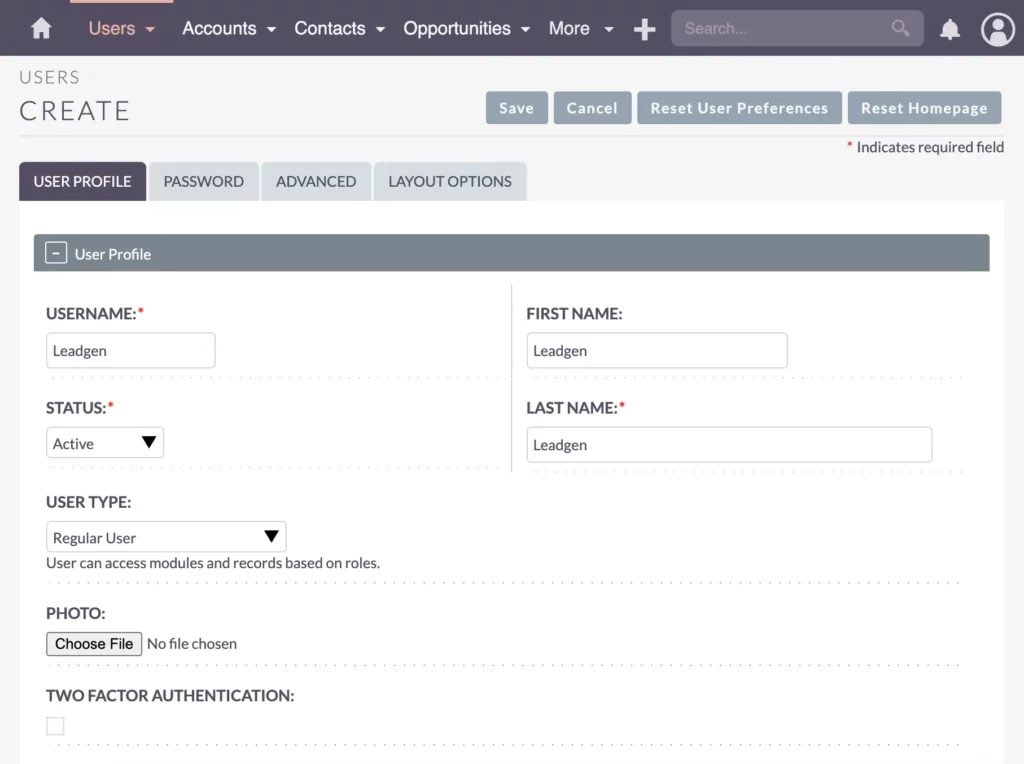
Go to User Management and click New. Enter the user’s details; for simplicity, you might name the user “LeadGen.” Set the status to Active, choose Regular User, and save.
You’ll be prompted to assign a security group, which we’ll cover in another video.
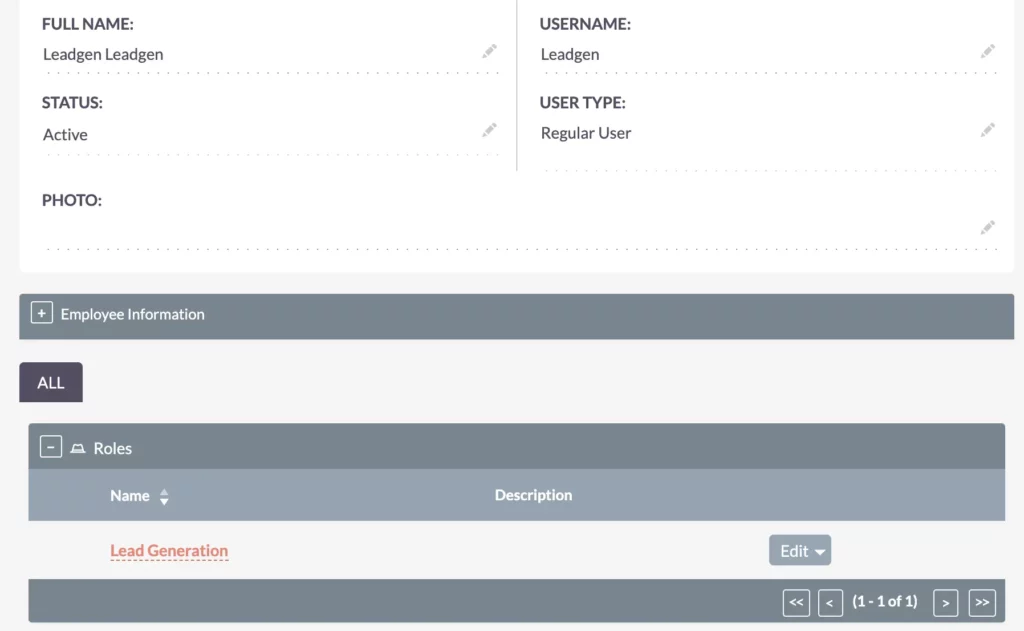
For now, focus on linking the “Lead Generation” role. Open the roles subpanel and select the “Lead Generation” role for this user. This step ensures the user has the correct permissions as defined earlier.
Test the Setup
Testing the Role and User Configuration
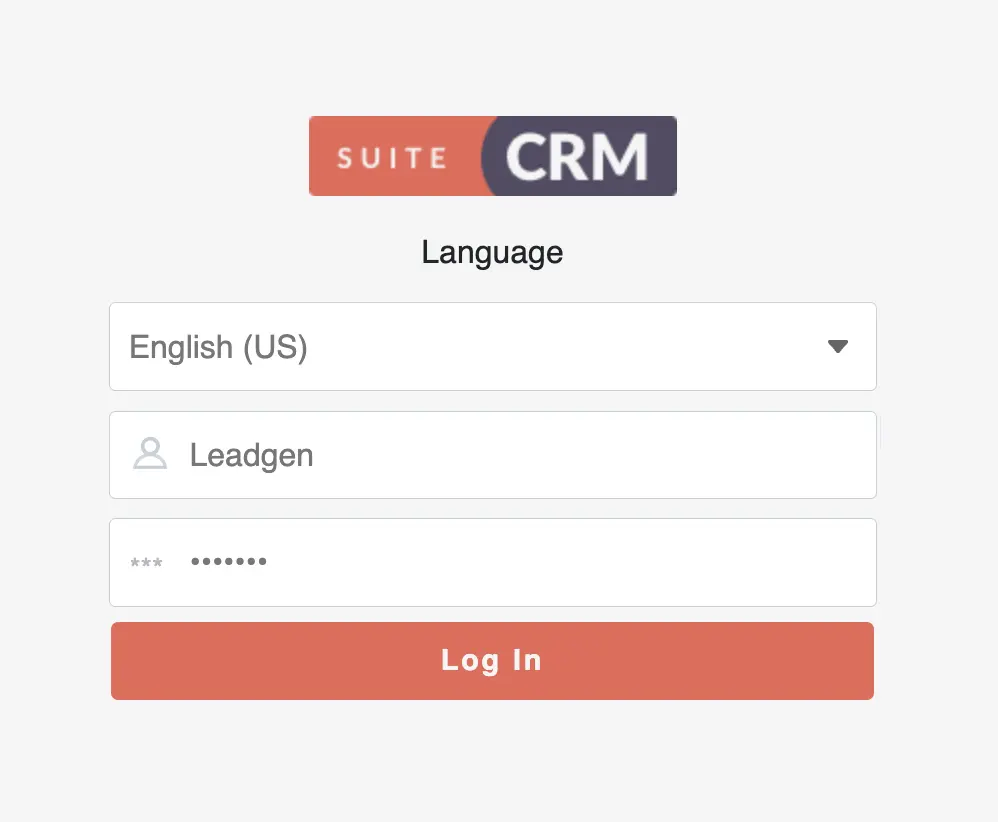
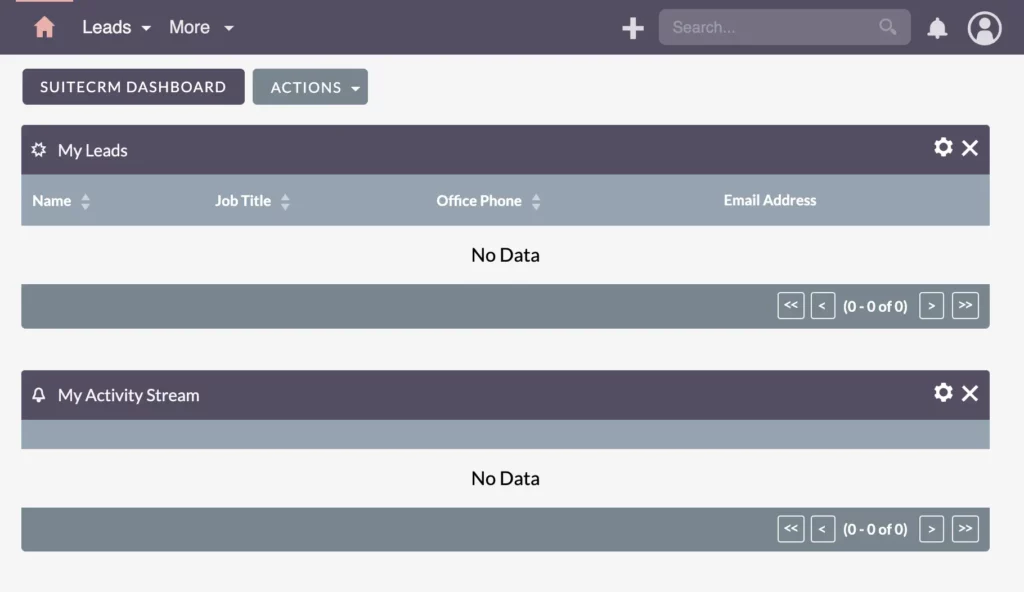
To verify the setup, log in as the new user in a different browser. If you encounter an error due to default dashboard settings, customize the dashboard to avoid this issue.
Simply remove the widgets, that the user doesn’t have access to.
Compared to my admin user, there are fewer options available here. Access is limited to the Leads module; Contacts, Accounts, and Opportunities are restricted.
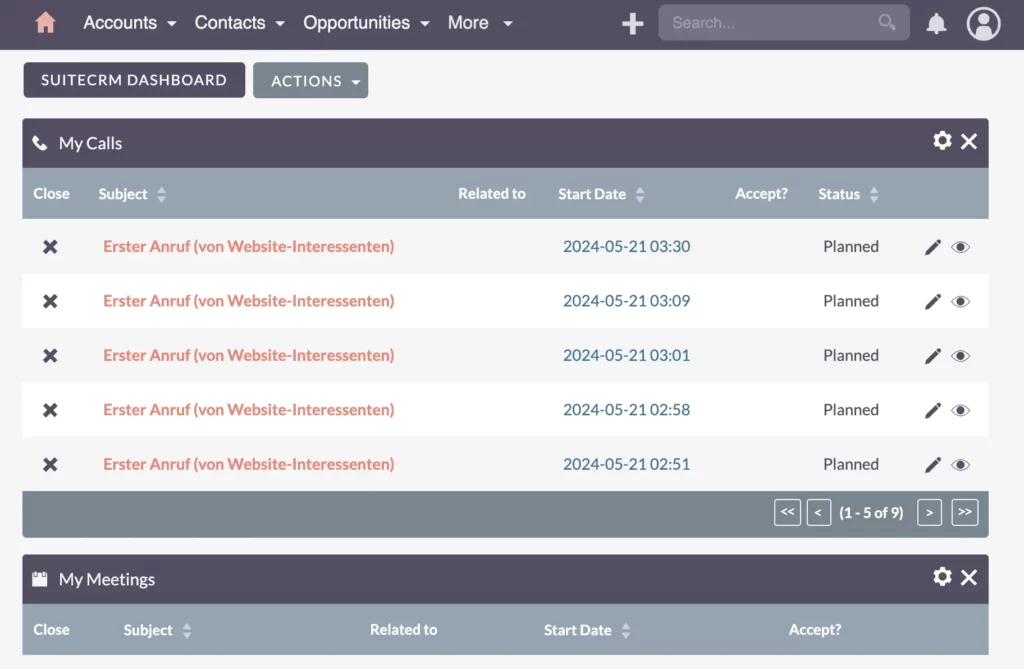
However, within the Leads module, everything looks just as it does for the admin user.
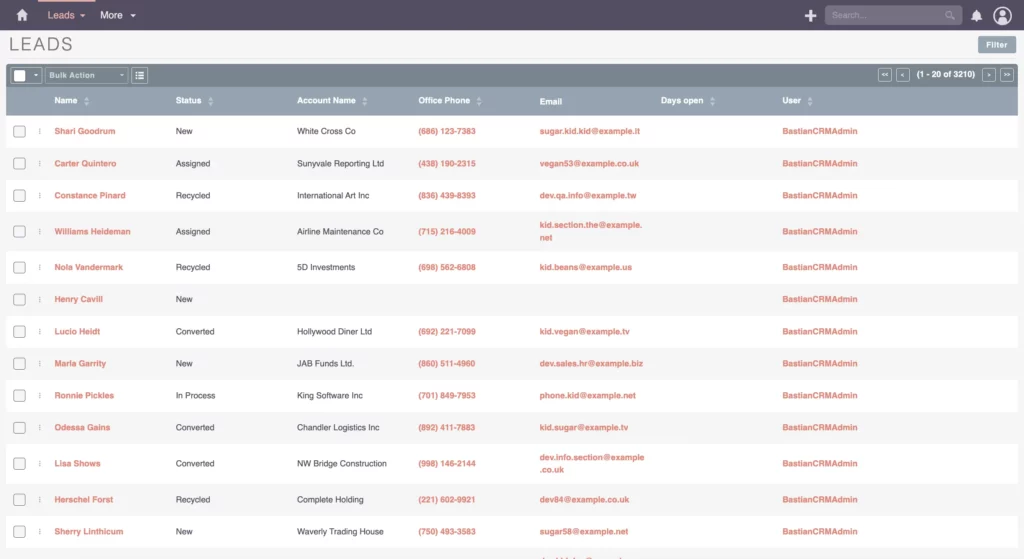
When attempting to access other lead records, a message appears stating, “You’re not authorized to view this page. Please contact your system administrator.” This message aligns with our permissions setup, allowing users to view the list and search by criteria like postal codes to prevent duplicates before adding new records.
Next, click on ‘Create,’ enter the necessary details, and save the record.
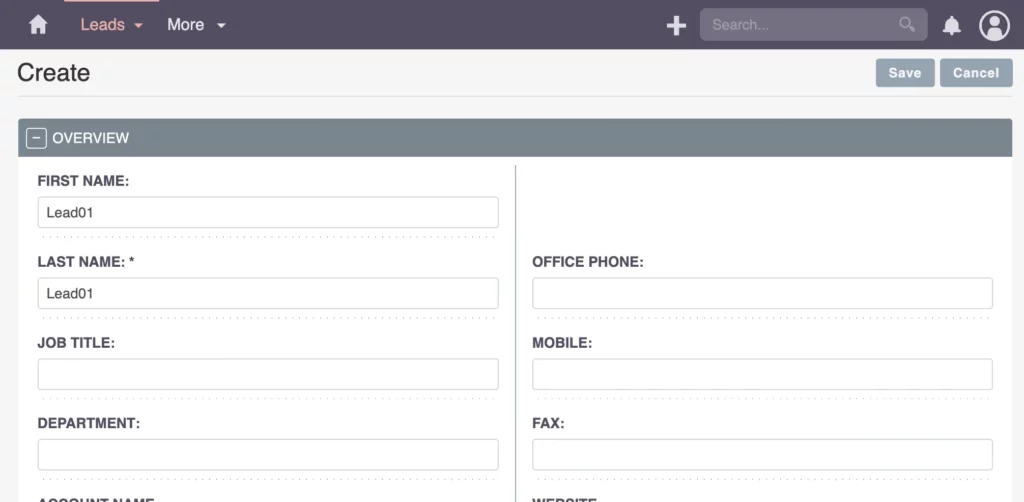
This process allows for creating new entries and reviewing details, particularly since I am the owner.
Overall, the permissions are functioning smoothly.

Helpful tip!
It’s important to configure permissions according to your business needs to avoid over- or under-granting access. Clear documentation is essential for effective system management, ensuring roles and user settings align perfectly with your business requirements.
Bastian Hammer
Recap
Quick Recap on SuiteCRM Roles and Users
In summary, this guide covered creating a role in SuiteCRM, configuring its permissions, and setting up a new user. Testing the setup in another browser confirmed the correct application of permissions. By following these steps, you can efficiently manage user access and improve your team’s productivity.
Feel free to ask any questions or share your thoughts in the comments below. For more in-depth guides and insights, be sure to check out my other articles and continue exploring SuiteCRM’s robust features. Thank you for following along!