SuiteCRM Security Suite 101: Everything you need to know about Security Groups
I’ll walk you through configuring SuiteCRM Security Groups to enhance your system’s security and usability. Follow along to ensure your team can access what they need while protecting sensitive data.
Security is a crucial aspect of any CRM system. Ensuring that your team has the right access to information while protecting sensitive data is vital for maintaining an efficient workflow. Whether you’re managing a small team or a large organization, configuring roles and security groups correctly will significantly enhance your system’s usability and security.
Before we go into the step-by-step process, I encourage you to watch my video on SuitedCRM Security Groups. The video provides an in-depth look at each step, making it easier for you to follow along and implement these configurations in your SuiteCRM system.
Now, let’s get started with the basics of creating roles, security groups, and users in SuiteCRM.
Create a Role
Setting Up Roles in SuiteCRM
Let’s get started by creating a Role. Suppose your SuiteCRM system is set up with some test or real data. In that case, you can now configure it for deployment to your team, ensuring it fits your processes and company roles.
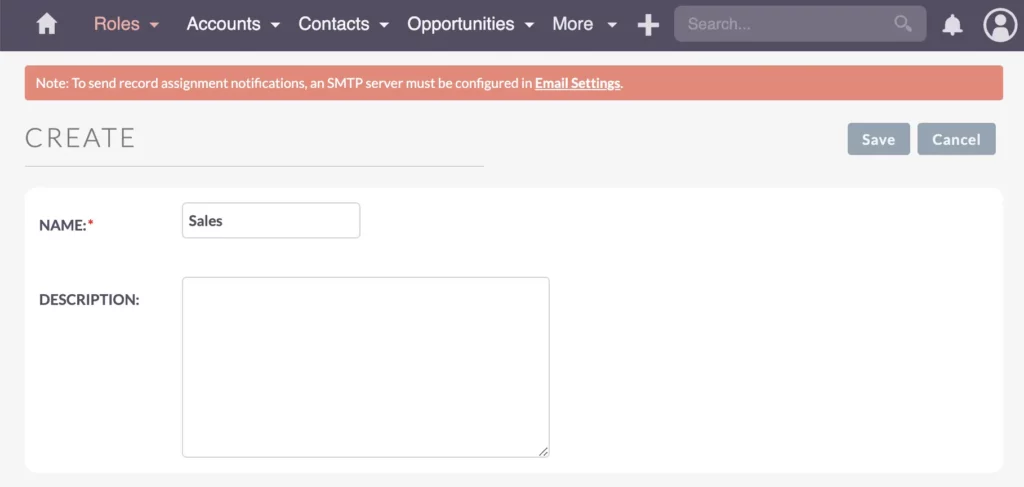
To create a role, navigate to the Admin area and set up a new role named “Sales.” This role will have specific permissions based on the security group we will configure shortly. Check out my video on SuiteCRM Roles, Users, and Permission Management for more detailed information.
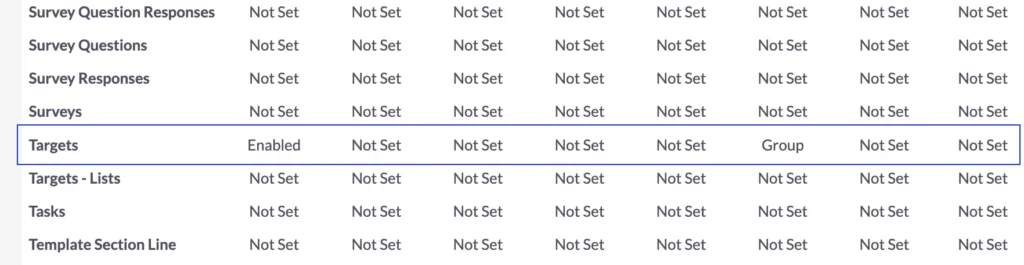
For this demonstration, let’s use the “Targets” module. Ensure it is configured to display records according to security groups, allowing users to view details within their Group.
Create a detailed configuration according to your needs and requirements. Streamline the system as much as possible. If you don’t use certain modules like Documents or Cases, remove or block them from access. This makes the CRM system easier for new users.
When you onboard your team, they should see only what they need to focus on. If the terms are familiar, such as Leads and Opportunities, the system becomes much easier to navigate. This simplifies the learning process significantly.
Configure Security Group
Configuring SuiteCRM Security Groups
Next, let’s create a Security Group after setting up the new Sales role. First, check if there are any existing groups; if not, create a new one.
Create a new group for demonstration purposes and name it “North.” Then assign this group to the admin since we’re building it up from scratch.
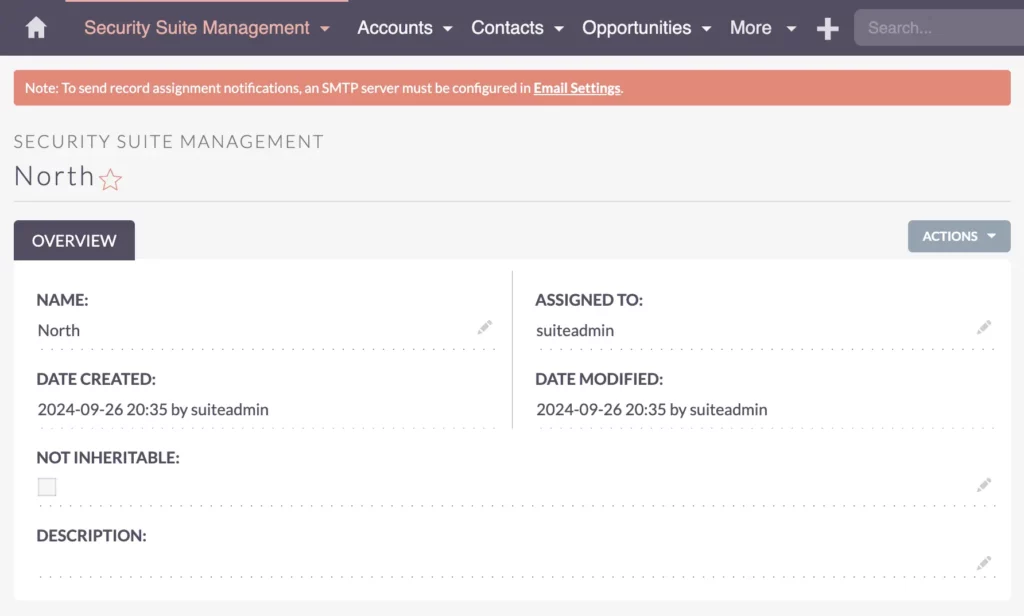
This setup is non-inheritable, which can be a bit complex. We’ll dive deeper into security groups during the admin workshop. It’s crucial to understand that records and groups can have different levels and hierarchies, with permissions that may or may not be inherited.
Typically, most setups are simpler. You might have a “North” and “South” configuration or an “A” and “B” group for different purposes. These setups work well without getting too deep into the specifics of security groups or permission settings.
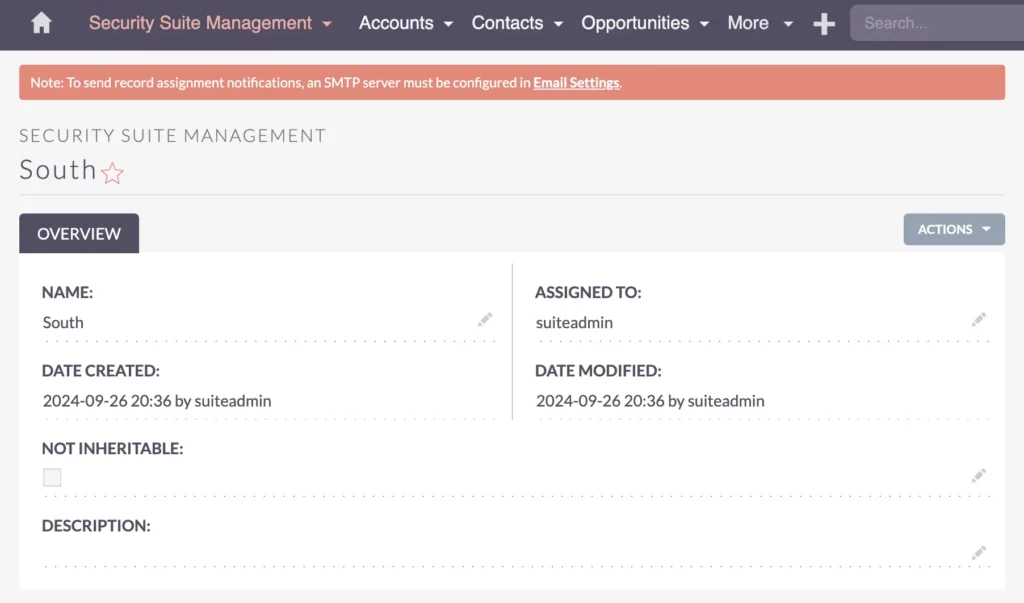
Now, let’s create another group. With “North” already set up, let’s add a “South” group as well.
After saving this, we now have an overview of all the groups. So far, we’ve created the role and the security groups. Next, we’ll create a few demo users to show how everything works in practice.
Adding and Managing Users in SuiteCRM
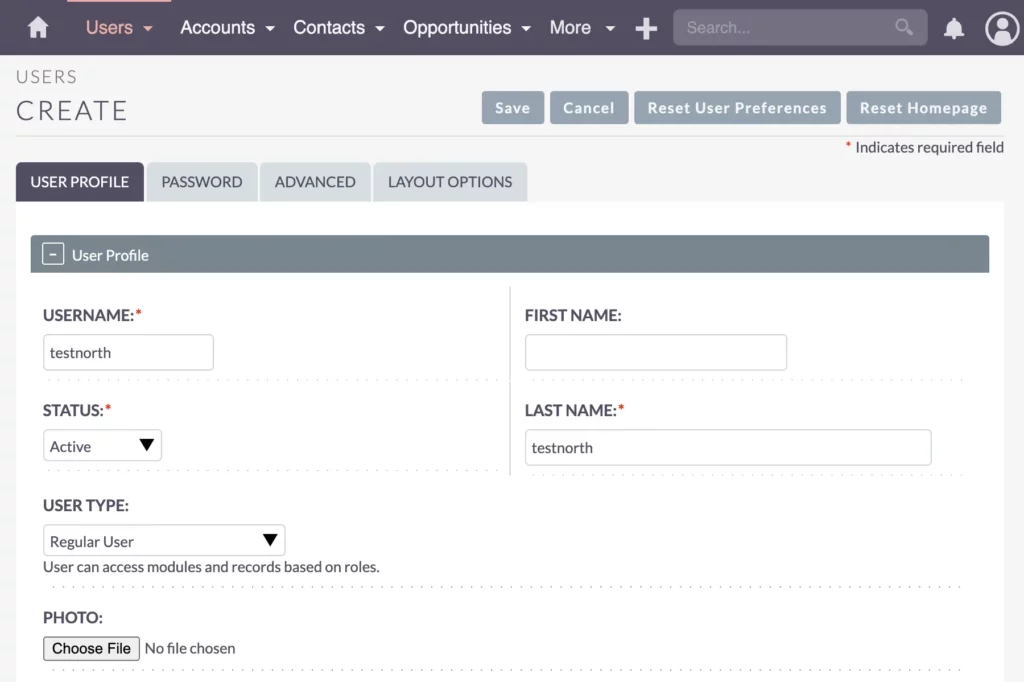
Now, with roles and security groups in place, we need to create demo users to illustrate how this setup works. First, let’s go into User Management. In addition to the existing users, we’ll create two new users to make things clear.
Our first user will be “testnorth” We’ll use “testnorth” as the username, last name, and password. Next, we need to assign two things for each user. First, we’ll assign the Sales role to “testnorth” so their permissions match other sales team members. Additionally, we’ll assign this user to the North group.
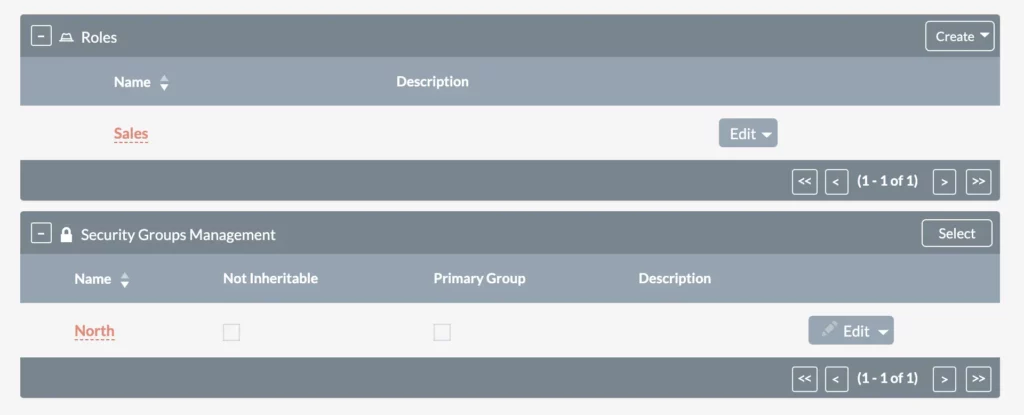
Now, “Test North” has both roles and security groups associated with them.
This is important because the CRM system uses these configurations to determine what to display. The role configuration ensures it checks the user’s group.
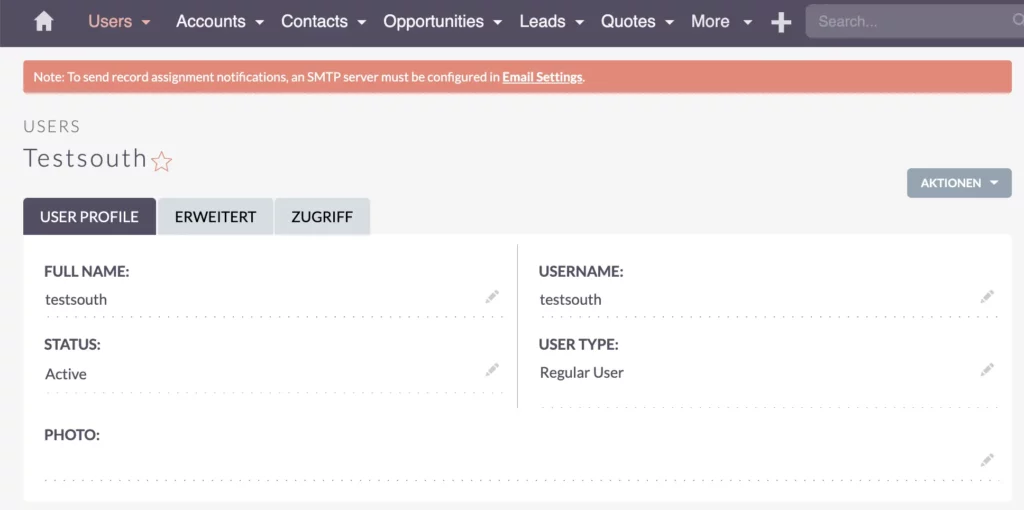
Now, let’s create another user named “testsouth.” We’ll use “testsouth” for the username, last name, and password. Again, we’ll select the Sales role and assign the user to the South group.
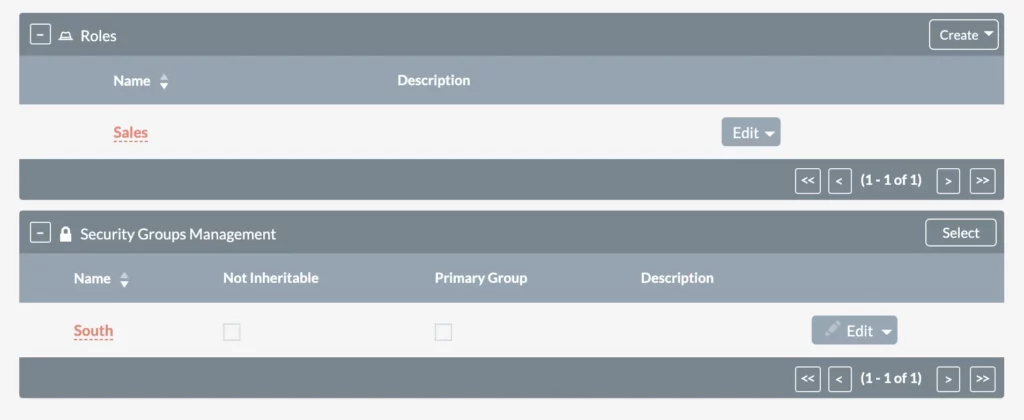
With “Test North” and “Test South” set up, we can now test the configuration.
Demo Security Groups
Demonstrating SuiteCRM Security Groups
Let’s try it out. We’ll log in twice using different windows—one in Incognito mode and one in another browser.
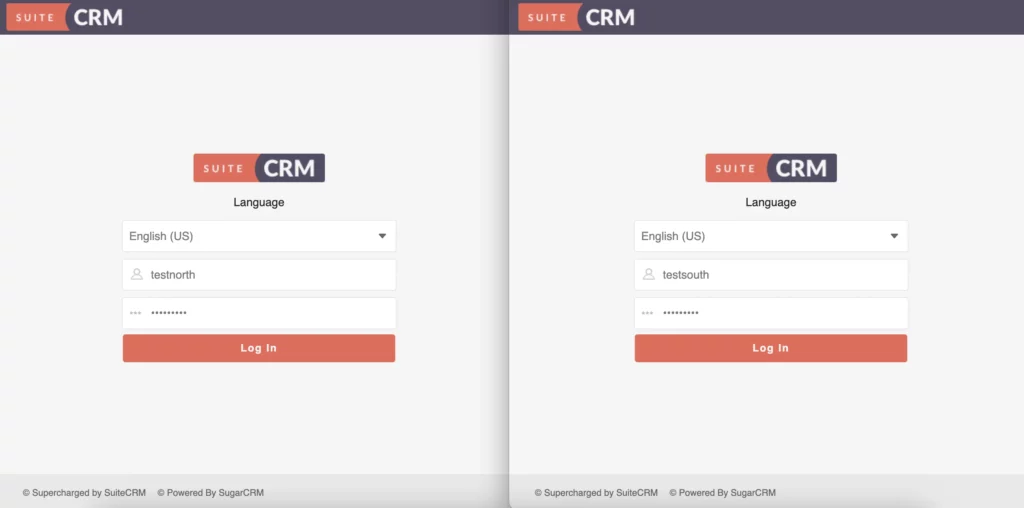
First, we log in as “Test South.” Once logged in, you’ll see everything looks familiar. Next, we log in as “Test North.” Again, everything appears as expected.
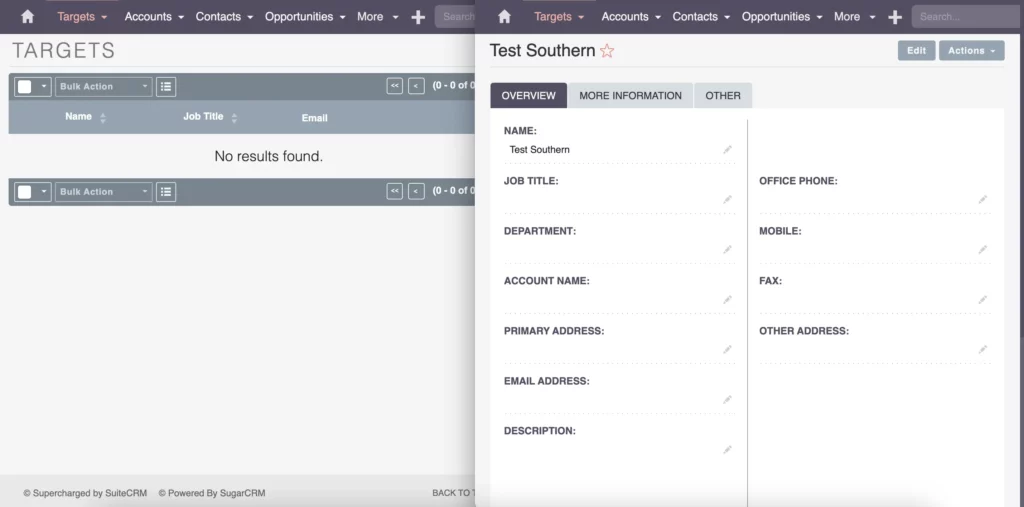
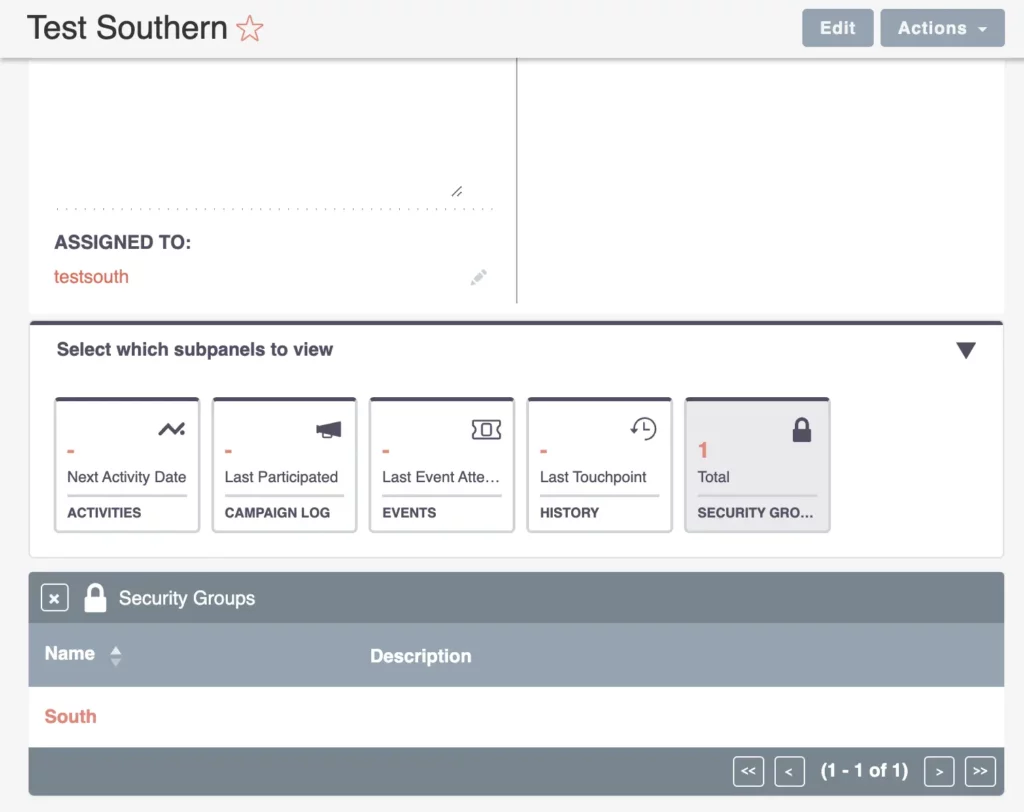
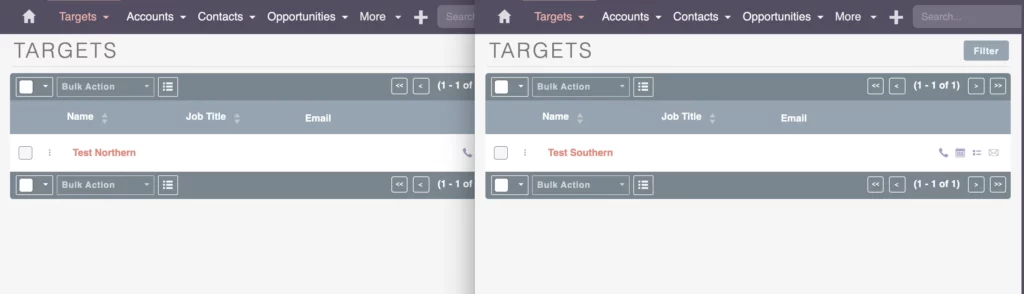
Now, let’s create a target using the South account. I create a “Test Southern” target and save it. You’ll notice something special here. The record is assigned to “Test South” and has a security group attached. The CRM system uses this to determine who can view the record.
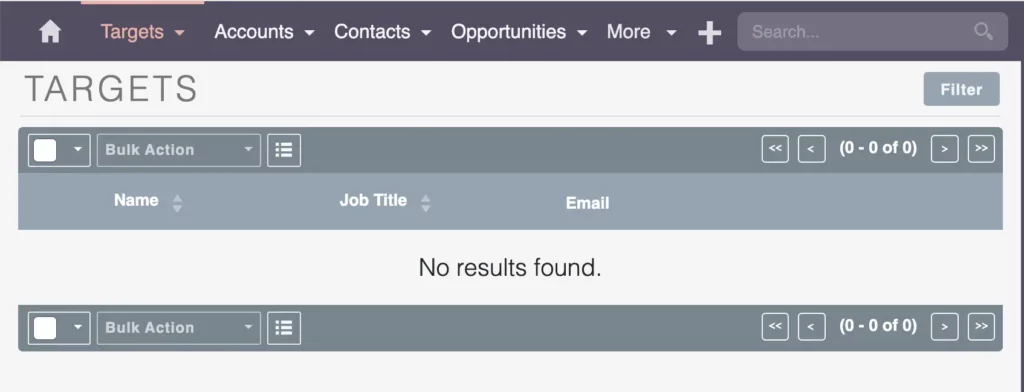
When you check the Targets in the North group (as the testnorth user), the Southern target isn’t listed.
Now, let’s create another target called “Test Northern” and save it. The same thing happens: the record is assigned to a different security group. If you go back to the overview of targets, you’ll see different views for each group. Users can filter and search, but their access is restricted to their group records.
As an admin, I can see records from both groups. This is because roles define how users interact with the system (e.g., can they import, create, or delete records).
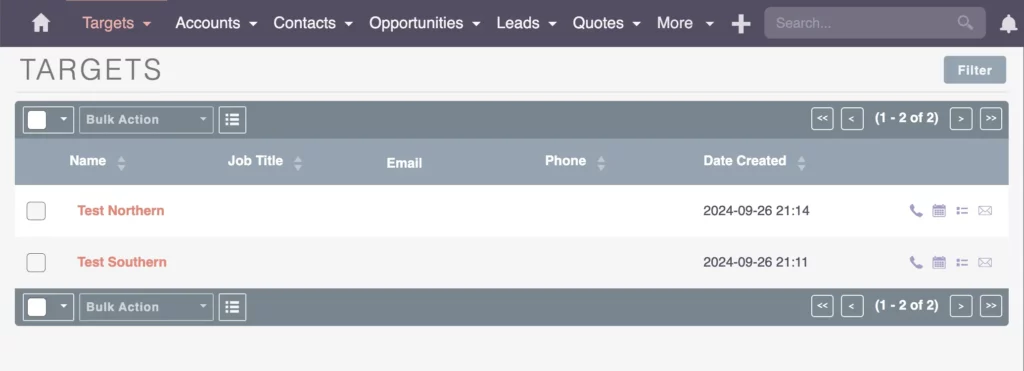
Security Groups define which records users can see. In my previous projects, this setup can be used for regions, key accounts vs. non-key accounts, as well as different product and service lines.
Security groups can be configured further in the admin area under Security Suite Settings. You can set up hierarchies, connect or disconnect roles, and more. However, keeping it simple will make maintenance easier in the long run.

Security groups are flexible.
You can move records between groups using import/export or mass updates. Experiment with this concept to see how it works best for you.
Bastian Hammer
Recap
Key Takeaways from Our SuiteCRM Security Groups Guide
Security is pivotal in any CRM system, ensuring teams access information while safeguarding sensitive data for efficient workflows. Configuring roles and security groups accurately enhances usability and protects your system.
We’ve discussed how security groups work and how to set them up in SuiteCRM. By creating roles to define user interactions with SuiteCRM. Then, configure security groups to specify which records users can access and manage based on their roles. By mastering security groups, you streamline operations while maintaining data integrity and accessibility across different user groups and roles in SuiteCRM.
For more in-depth customization, you can enroll in my administration course on SuiteCRM. In the course, I extensively cover SuiteCRM’s security and permission systems. Thank you for reading. Be sure to check out my other articles, and stay tuned for more SuiteCRM tips and tutorials. That’s all for now, see you next time!