Create Quotations Directly from SuiteCRM: A Step-by-Step Tutorial
Learn how to create professional quotations with SuiteCRM and improve your sales process. In this guide, I’ll walk you through the setup, adding line items, calculating totals, and much more!
If you’re already using SuiteCRM to manage your leads, contacts, and accounts, you’re probably ready to start creating quotations directly within the system. Fortunately, this functionality works quite well out of the box in SuiteCRM.
In this article, I’ll guide you through the configuring process and working with Quotations in SuiteCRM. You’ll learn about the special options and configurations in the Quotes Module, how to set up your quotations, add product and service lines, and explore the actions available after creating your quotations.
I’ve also made a SuiteCRM Quotations video tutorial to accompany this guide. You can refer to it for a visual walkthrough of the steps involved.
So, if you’re ready to enhance your SuiteCRM experience by seamlessly integrating quotation creation into your workflow, let’s get started!
Configuration Options in Admin
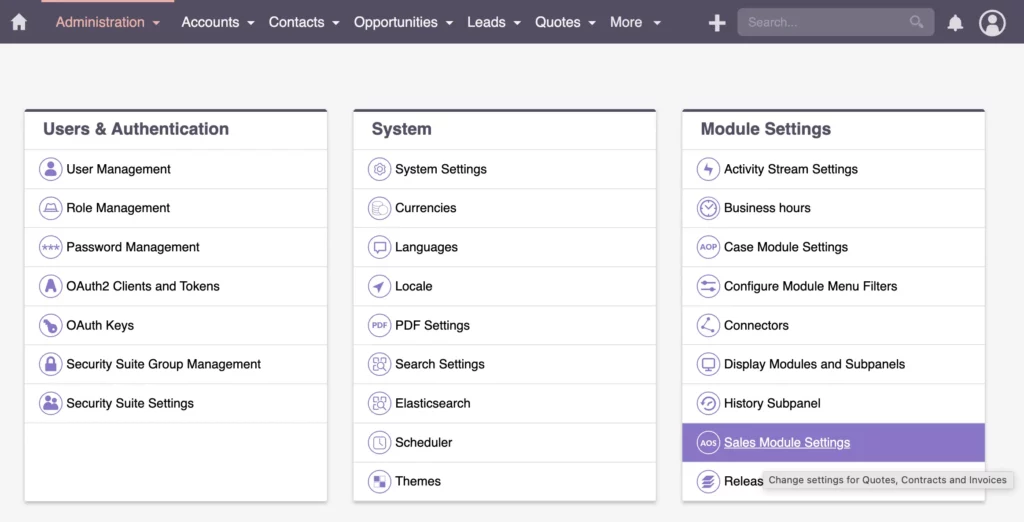
SuiteCRM Quotations Configuration in Admin
The Quotes module is unique because it offers several special options and configurations.
First, go to your Admin panel and find the Sales Module Settings.
Here, you can configure specific settings for quotations, such as quotation numbers. These can be set to start from a certain point and increment with each new quote.
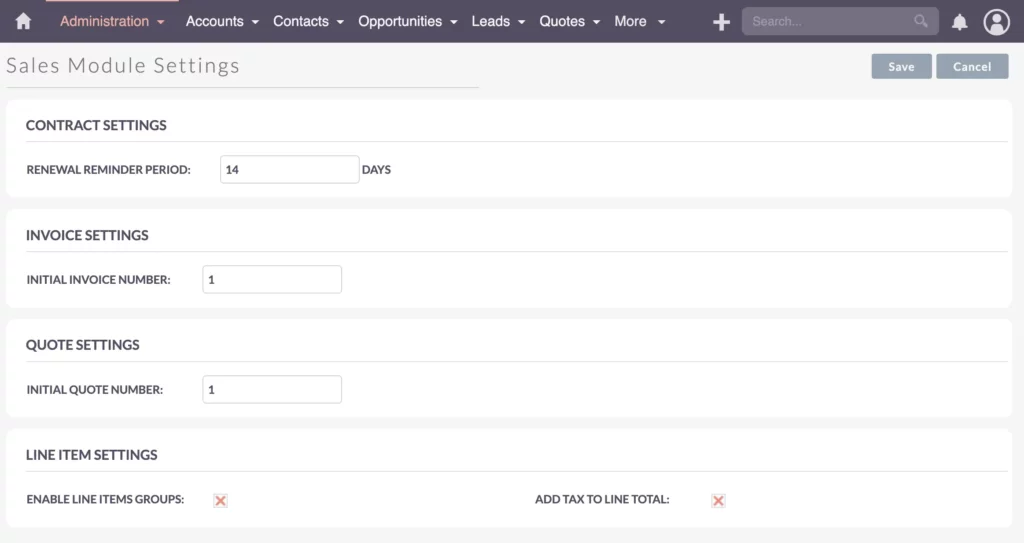
You can also group line items within a quotation. For example, you might have a service fee as one line item and a product fee as another. These can be grouped under a custom group name. Additionally, if needed, you can add tax to the line total (Add Tax To Line Total).
Quotation – Header Data
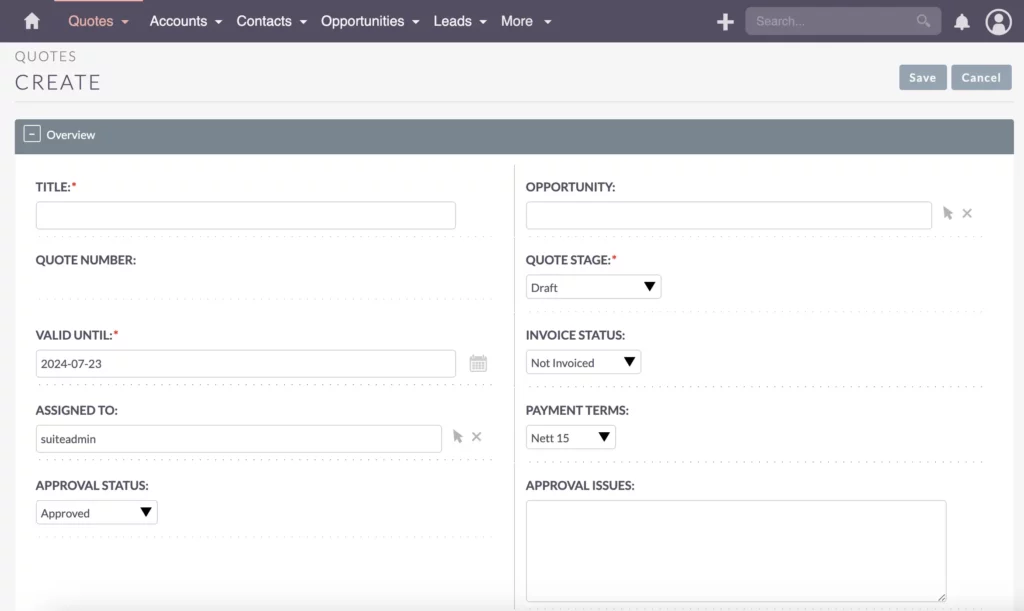
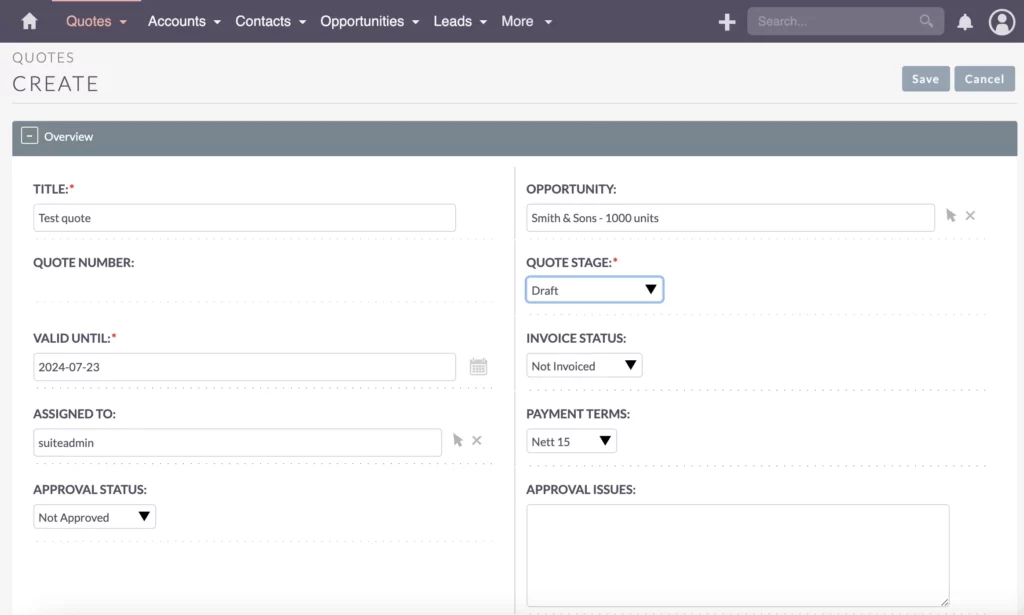
Creating a New Quote – Header Data
To create a new quote, go to the Quotes module and name your new quote. The first panel contains the header data, where you can specify important details such as the title, related opportunity, stage, and payment terms.

Tip: Stick to the standard data whenever possible Keeping default settings is a good idea if they fit your workflow and processes. It’ll make upgrades, integration and learning your system easier.
Bastian Hammer
Title
The Title serves as the name of the quote you’re creating. It’s for internal reference and won’t be visible to customers, if you don’t place it on your PDF Templates. You can use calculated fields and workflows to automatically generate titles based on factors like the date and customer name. For more details, check out my video on workflows with calculated fields.
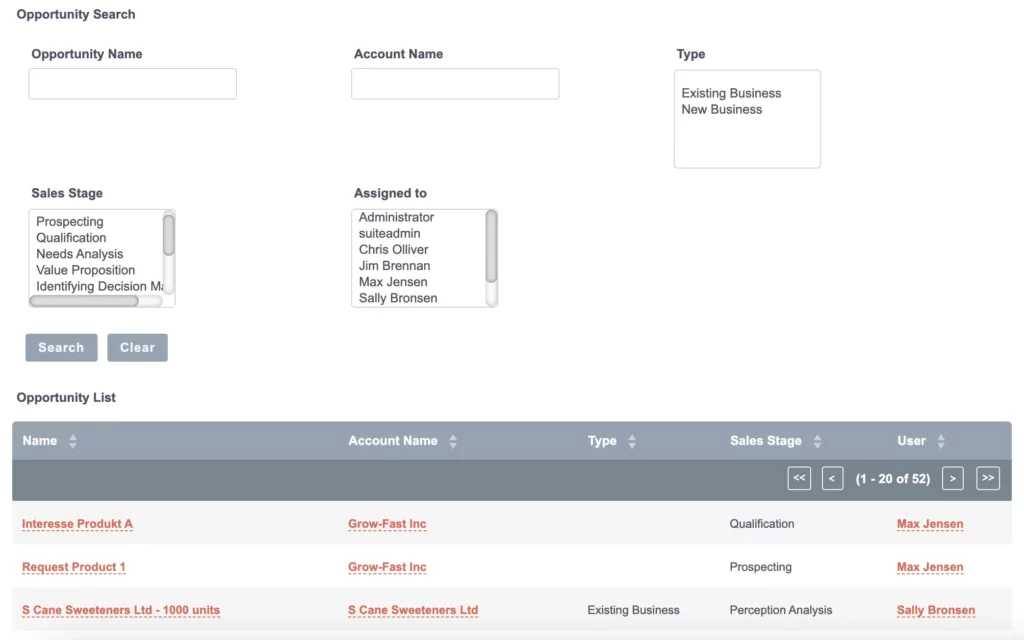
Opportunity
Linking the quotation to an Opportunity is optional, depending on your sales process. For instance, you might create a quote for a lead who later expresses interest, leading to the creation of an opportunity. If there’s an existing opportunity, you can easily select it.
Quote Number
The Quote Number is automatically calculated.
Quote Stage
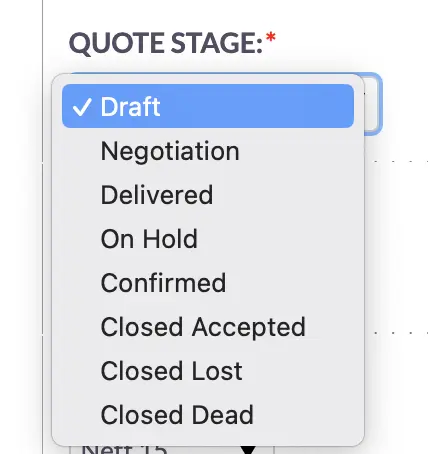
The Quote Stage helps you track where your quotations stand in the sales process. Here’s what each stage roughly means:
(eventually, you’ll have to figure out what the stages mean in your process and / or rename them)
- Draft – the quotation is being created and has not been finalized or sent to the customer.
- Negotiation – discussions and adjustments are ongoing with the customer to reach mutually agreeable terms.
- Delivered – the quotation has been sent to the customer, and you’re waiting for their response.
- On Hold – the quotation process is temporarily paused, either by customer request or an internal decision.
- Confirmed – the customer has agreed to the terms of the quotation, and you’re ready to move forward, such as creating an invoice.
- Closed Accepted – customer has officially accepted the quotation, ready to turn it into an order or contract.
- Closed Lost – the quotation was not accepted by the customer, and the quotation / opportunity is no longer active.
- Closed Dead – the quotation is no longer being pursued, often due to significant changes in circumstances or priorities.
For this demo, let’s choose “Draft” for the quote stage.
Valid Until
Depending on your business process, you can set a validity period for the quotation, typically one month by default, but this can be customized.
Invoice Status
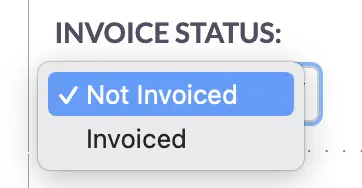
Currently, and by default, the invoice status remains “Not Invoiced” since we’re still in the quotation stage. Once this has changed, you can move it forward.
Assigned To
If you have one key account user but another person handles the quotation, assign the correct CRM user here. Usually, the person creating the quotation is also the one dealing with the customer in most of my projects.
Payment Terms
In this section, you can easily customize your Payment Terms to suit your needs. It’s a standard field that offers flexibility for your specific requirements.
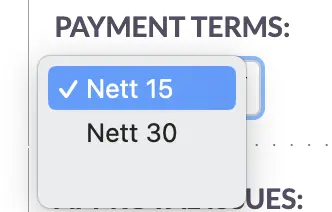
For a more detailed guide on customizing fields, be sure to check out my video. It shows you how to add or edit the values available in these dropdown fields.
Approval Status
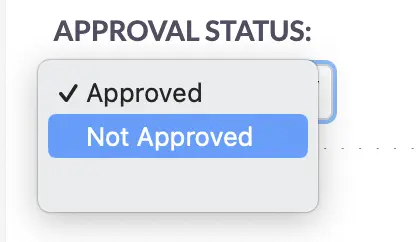
Now, we have an Approval Status. When it comes to approval, I recommend setting the status to “Not Approved” as a default. This is especially handy in companies where quotations require a hierarchical approval process.
For instance, if a quotation is created, it might need approval from a team lead or manager before proceeding. This ensures all quotations meet company standards before being sent to the customer.
Approval Issues
In case there’s a problem in the approval process, it’ll be noted in the Approval Issue field. Here, team leaders can pinpoint what needs adjusting, providing clarity for everyone involved.
For example, they might specify that a certain term needs to be revised for accuracy. Once the adjustments are made, the quotation returns to the account manager for final approval, ensuring smooth sailing throughout the process.
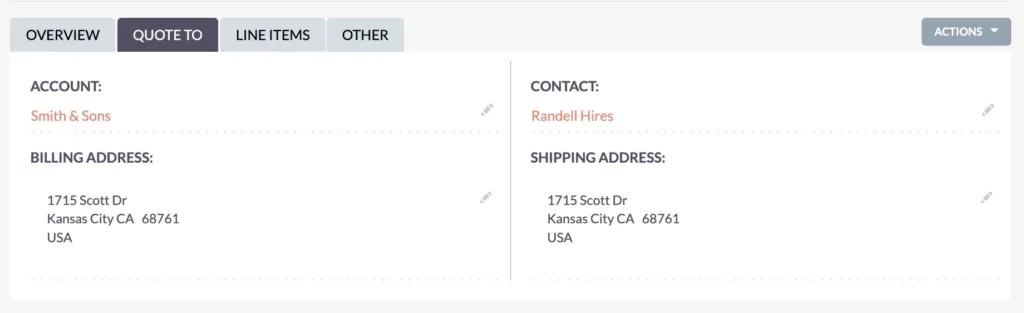
Setting Up Customer Details (Account Information)
In the process of creating a new quotation, the second panel focuses on customer details, specifically the Account Information.
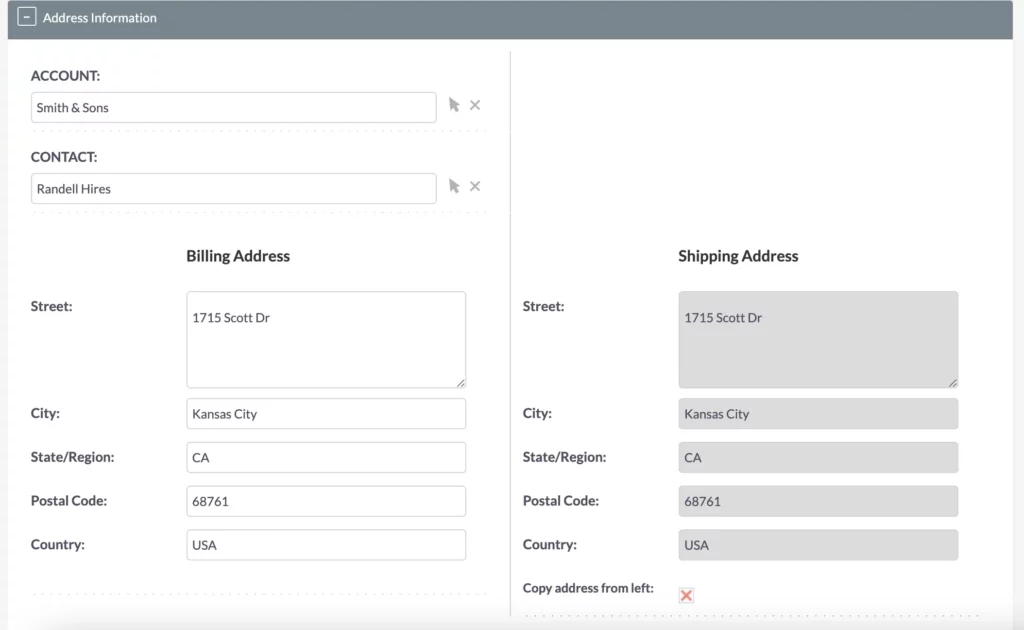
Account
Here, you’ll select the Account for which the quotation is intended.
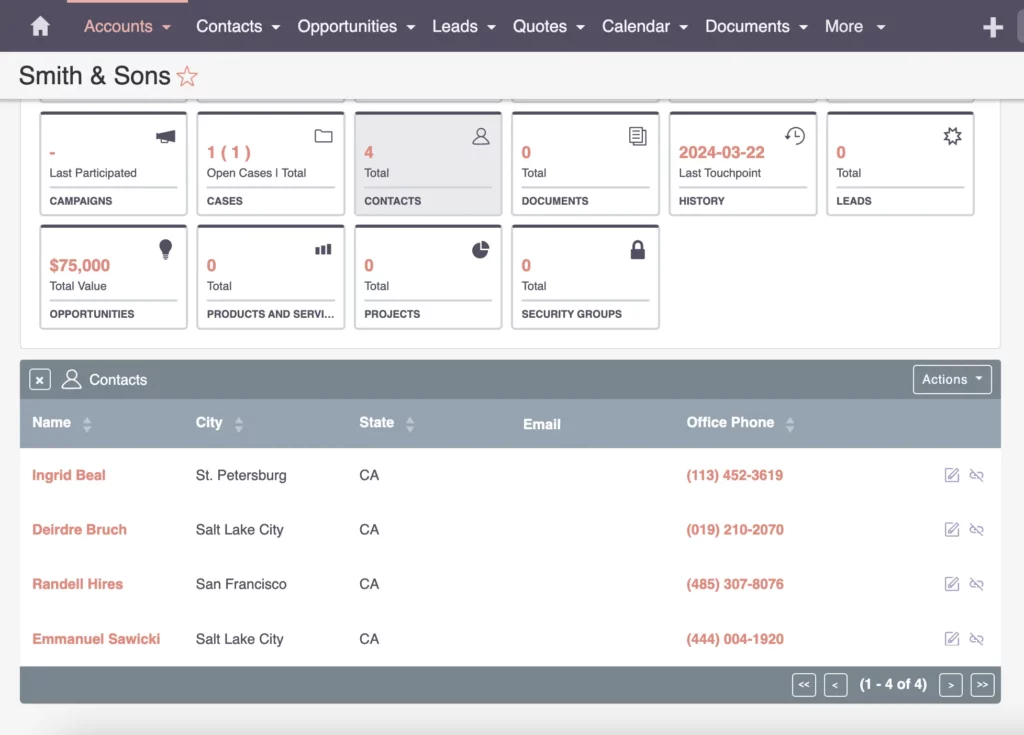
When selecting an account, like “Smith and Sons,” ensure the address details are accurately populated. You have the option to either directly select the account or search for it using filters. If it’s readily available, you can pick it right away.
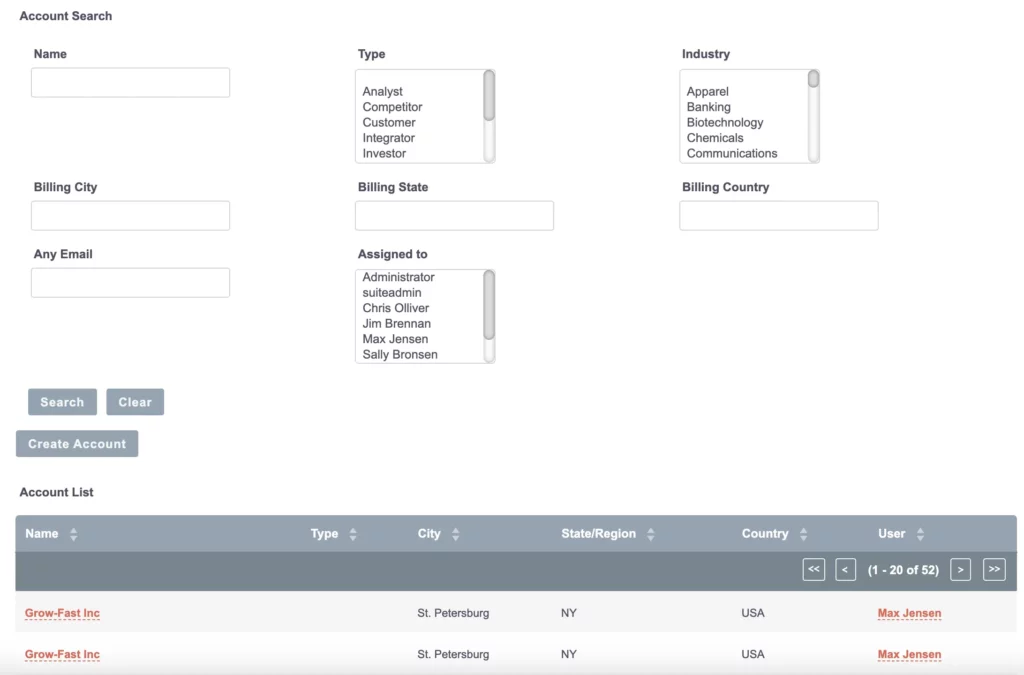
If you want to customize how this information is displayed, such as which columns or fields to filter, check out my video on views and customization.
Upon selecting the account, you’ll notice that essential details like the city and address are automatically filled in from the account profile. This makes the process easy and efficient, as we don’t have to re-enter this information.
Contact
Another feature of creating quotations is the quick selection of Contacts. If you already know who the quotation is for, simply type in their name and add them directly.
Let’s say you’re not sure who to address at “Smith and Sons.” In this case, check the listed contacts. For example, if you’ve been corresponding with Randell, you can easily find him.
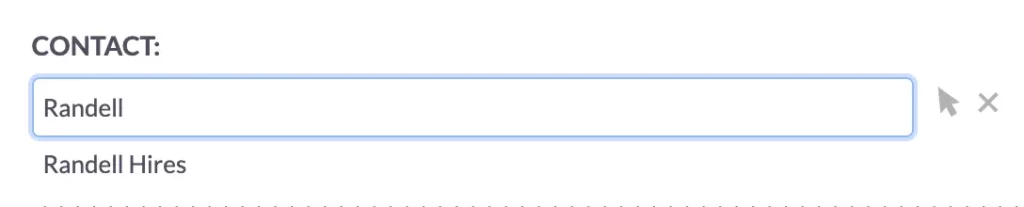
Just type “Randell” into the contact field, and the system will automatically provide the correct person. No need to navigate through dropdown menus. This method works either way, depending on your preference.
Adding Line Items
Adding Line Items When Creating a New Quotation
When creating a new quotation, the third panel lets you manage Quote Groups, Line Items, and Currency. Groups organize Line Items, each having its total. Line Items can represent a Product Line or Service Line.
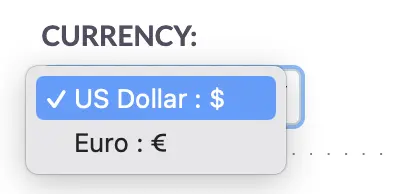
Currency
For a detailed explanation of currency, I recommend watching my video on currencies.
In this quotation demo, let’s set the default currency to US dollars.
Add Group
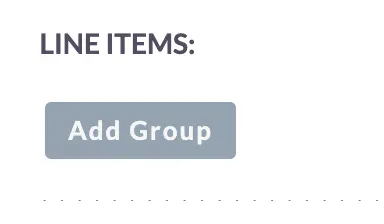
In this section, you’ll find the Groups mentioned earlier, which were introduced in the admin panel. These groups help organize your products and services. For example, you might have different services grouped together.
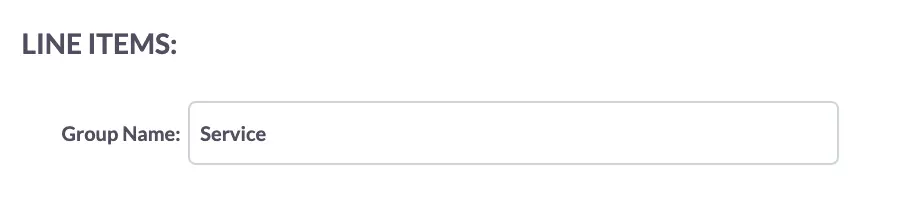
To maintain clarity, I recommend assigning a name to each group. Without a group name, it might be unclear what the group represents. Once you’ve added the group, you can proceed to add your products.
Product and Service Lines
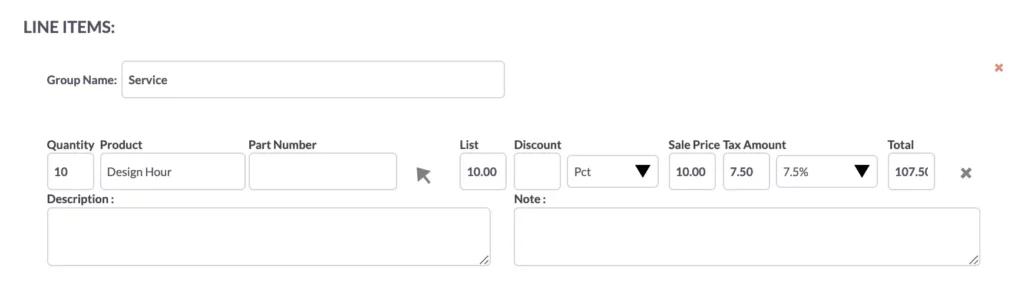
Each product or service you add becomes a line item in the quotation, similar to how orders are handled in e-commerce. You can select the product and adjust the quantity as needed, and the total will update automatically, including tax calculations.
Additionally, you can include a description and a note. The description typically goes on the customer quotation, while the note is for internal use. This helps ensure clear and transparent communication.
Grouping Multiple Products and Services
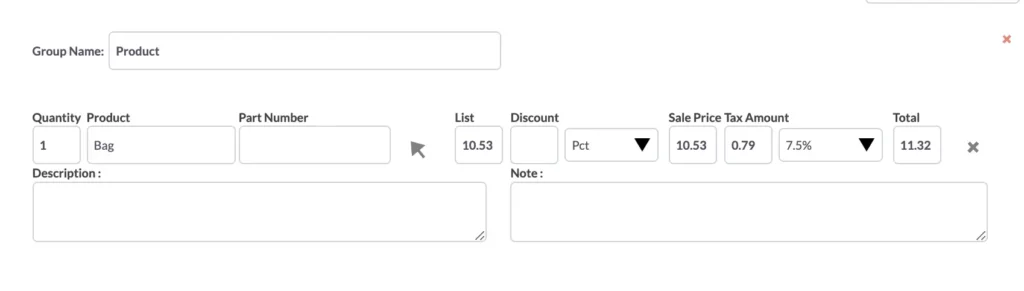
Let’s create another group, this time for products. Currently, there’s only one product available, but if you have more, you can add them individually to this group.

While you can also add a service line, it’s generally not recommended. Service lines can complicate reporting and are best avoided if possible. For more guidance on managing products, check out my video on SuiteCRM Products.
In my experience with several projects, it’s rare to encounter situations where only a service needs to be added to a quotation. Typically, products are sold alongside one service, such as packing, which lacks a specific product counterpart. In such cases, it’s common to quickly include another line item for the service, even if it’s not matching the default terminology of the SuiteCRM product module.
I suggest minimizing this practice whenever possible. A balanced mix of products and services ensures clarity and accuracy in your quotations.
You’ll have better insight via reports, if you avoid the service lines and only add products.
Total
Once you’ve configured the Line Items, let’s review the Totals within the quotation itself.
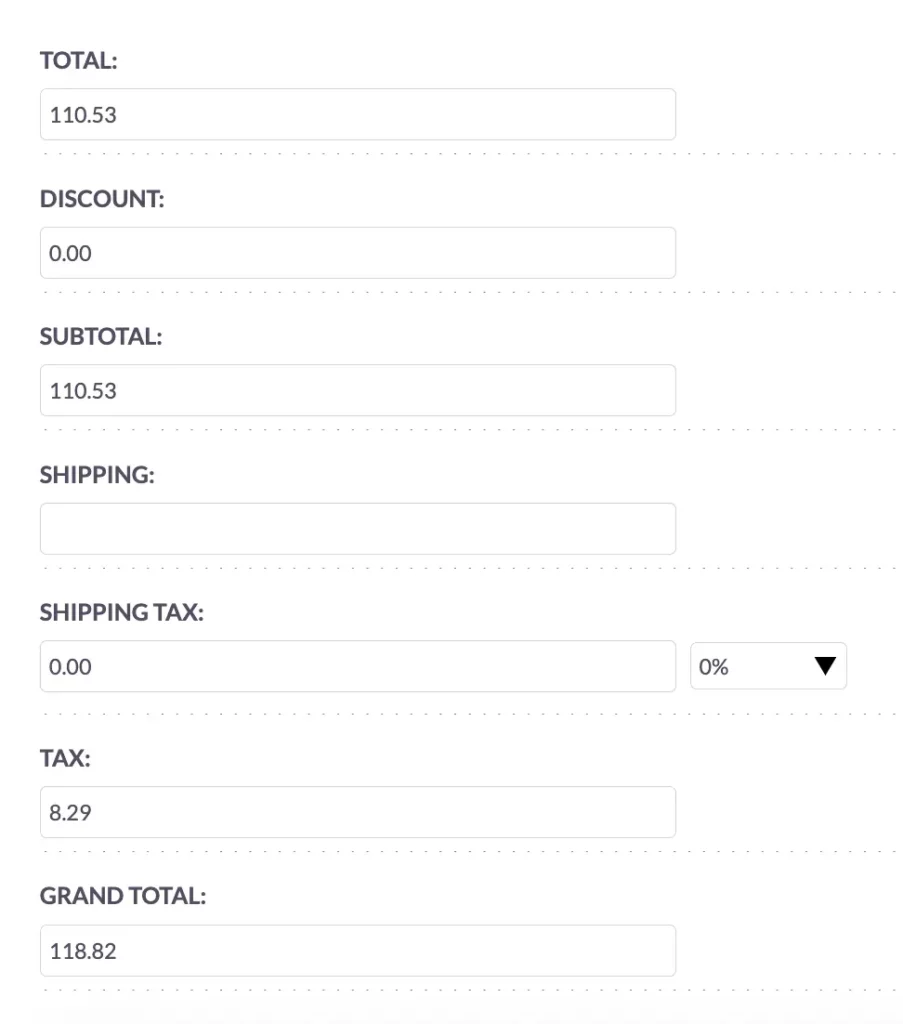
The subtotal stands at $118.82, calculated from the 11 additions we made, with the tax included as well.
After checking, the grand total, including tax, appears correct. To finalize, simply click on the “save” button.
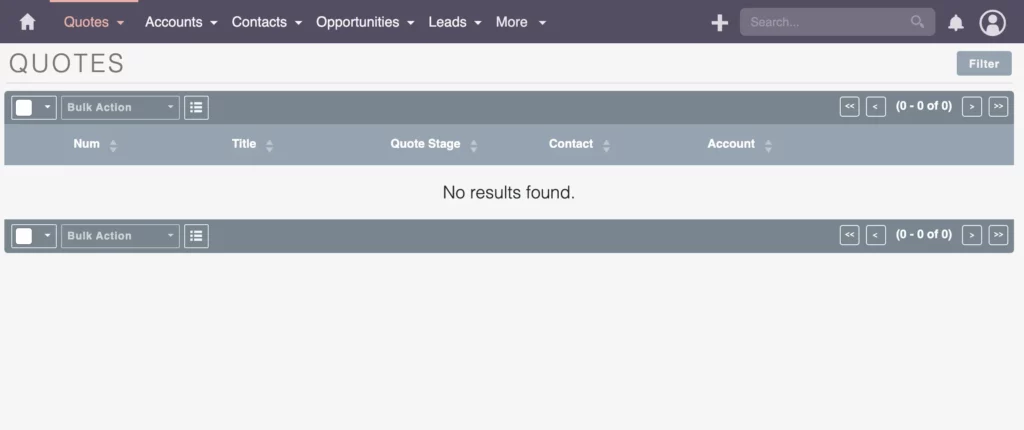
Overview: Newly Created Quote
Taking a Closer Look at the Newly Created Quote
Once the quote is saved, let’s take a look at this particular section to examine the newly created quote.
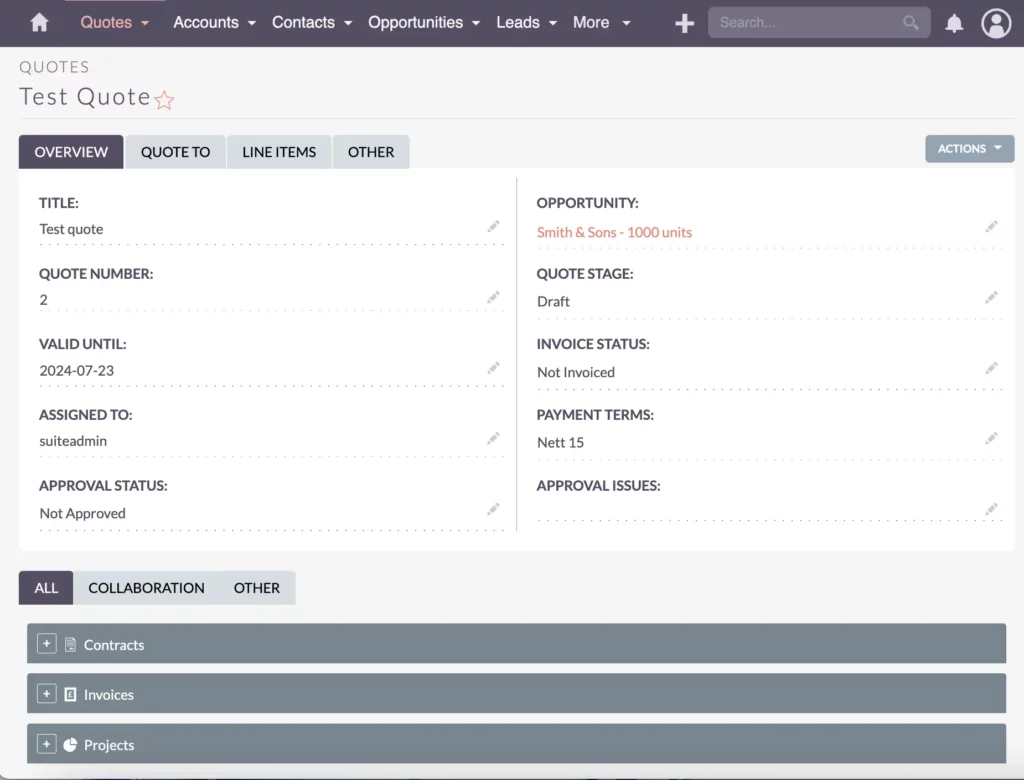
This module stands out from others in its unique features. Here, you’ll see several default tabs that contain important information such as the overview (header information) and “quote to” (indicating the related customer for the quotation).

Additionally, you’ll find the line items listed along with the respective group names. Lastly, there are other standard fields present to provide further details.
A Quick Guide to the Action Menu
Once your quotations are saved, you’ll notice the action menu, packed with useful features. From here, you can easily perform common actions like Edit, Duplicate, or Delete.
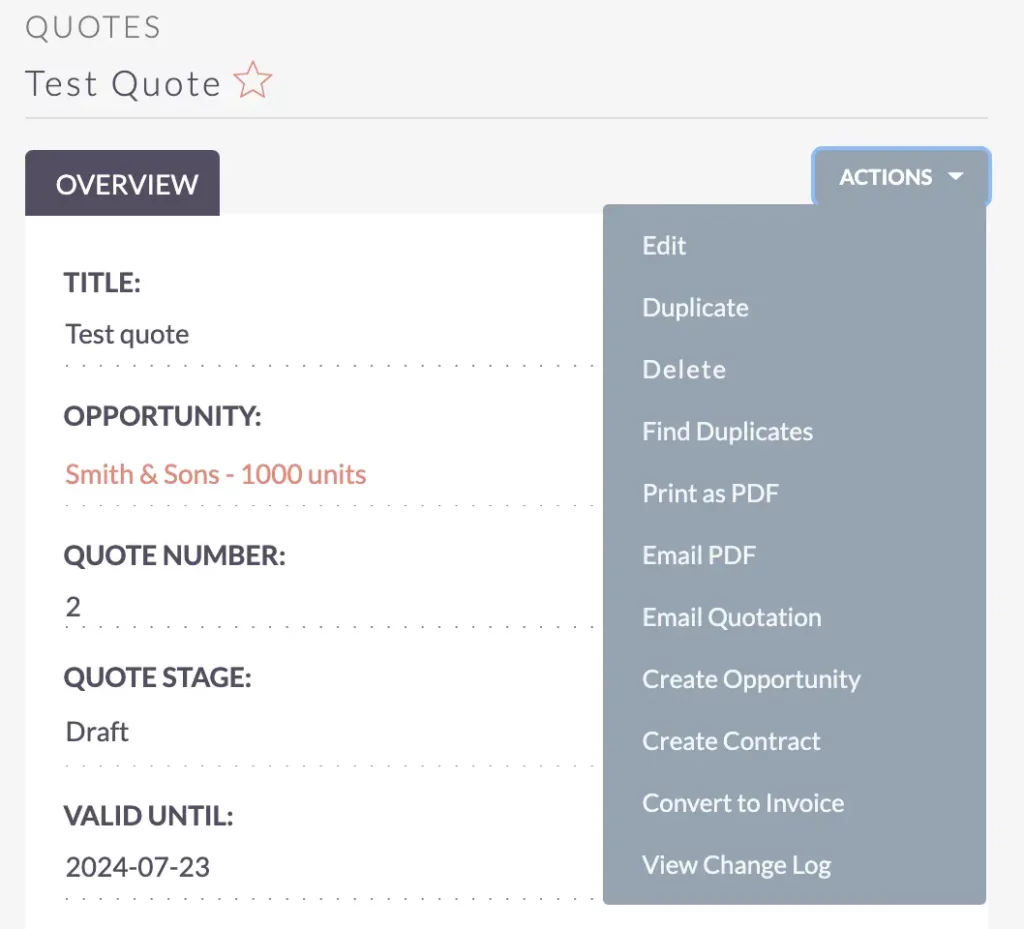
Let’s take a quick look at some other actions you can do from here:
Print as PDF
Another convenient option available is to print the quotation as a PDF file.
Simply click on Print as PDF, and you’ll be prompted to choose where to save the file. Once saved, you can open the PDF and see all the quotation details.
If you haven’t set up a template yet, don’t worry! You can check out my video on creating PDF templates for guidance.
Email PDF
You can also choose to send the quotation as a PDF file via email. If your email setup isn’t configured yet, no worries! You can set it up later and then effortlessly email the quotation whenever you need to.
Email Quotation
Alternatively, you can utilize the Email Quotation action. Unlike attaching a PDF file, this action embeds the quotation details directly into the email body, just like how it’s done by some e-commerce companies.
Create Opportunity
You also have the option to create an opportunity directly from the quotation. This is particularly helpful in the sales process, especially when a lead shows interest in a specific product.
One possible sales process looks like this: when a lead requests a quotation, you create it. If the lead indicates interest in making the purchase, you can seamlessly create an opportunity from the quotation.
Create Contract and Convert to Invoice
After a quotation is accepted, you can choose to create a contract and/or an invoice. This is particularly useful for businesses that operate with contracts, especially for annual agreements that require monthly invoices for instance.
In some cases, standard invoice templates may not meet your needs. I encountered this scenario in a project where contracts worked well, but the invoice format required customization based on contract and quotation data.
Stay tuned for more detailed videos on how to generate invoices based on contracts and quotation data.
The Quotation Module offers more options compared to others, making it slightly more complex. However, it operates smoothly when following standard procedures. When you customize it to your needs, try to stay close to the standard and you should be good.
Stick to standards and customize with workflow!
Remember, while the quotation module offers additional options, it works best when adhering closely to the standard. If your business processes require deviations, consider implementing workflows to customize the CRM system accordingly.
Bastian Hammer
Recap
A Brief Recap on SuiteCRM Quotations
Let’s recap what we’ve covered, as it was quite comprehensive. We began by exploring the Admin area, where we looked into several configurations for quotations. Then, we proceeded to create a quotation, ensuring it’s properly linked to relevant entities like existing opportunities, accounts, or contacts.
Next, we discussed setting up line items, which represent the products or services in your quotation. Understanding how to manage these line items is crucial for accurate pricing and calculations within the CRM system. Additionally, we highlighted the numerous options available within the quotation module and its seamless integration with other modules.
I encourage you to explore these features further and consider how they can enhance and optimize your business processes. By fully using SuiteCRM Quotations, you can streamline your sales operations and improve efficiency.
If you found this information helpful, feel free to share your thoughts in the comments below. Also, don’t forget to check out my other guides for more tips and insights. Thank you for reading, and that wraps up our discussion for now. See you next time!