SuiteCRM Products: Manage Products and Product Categories
Learn how to set up product categories, create products, and seamlessly integrate these processes into your sales workflow with SuiteCRM Products.
SuiteCRM Products: Your complete Sales Process in your CRM
Welcome! This article is your guide to understanding and using SuiteCRM Products.
Whether you’re new to SuiteCRM or looking to optimize your current setup, you’ll learn how to use products and product categories effectively within your SuiteCRM system. By the end of this tutorial, you will know how to set up product categories, create products, and integrate these processes into your sales cycle, ensuring a smooth transition from lead generation to invoicing.
For a step-by-step visual guide, watch my video tutorial on SuiteCRM Products. Let’s get into the essentials of managing your SuiteCRM products and categories.
Product Categories
Product Categories: The Foundation
Setting Up Product Categories
Start by creating your Product Categories. Without categories, your products will lack organization, leading to a messy structure. It will still work though – just in case you only have a handful of products to manage.
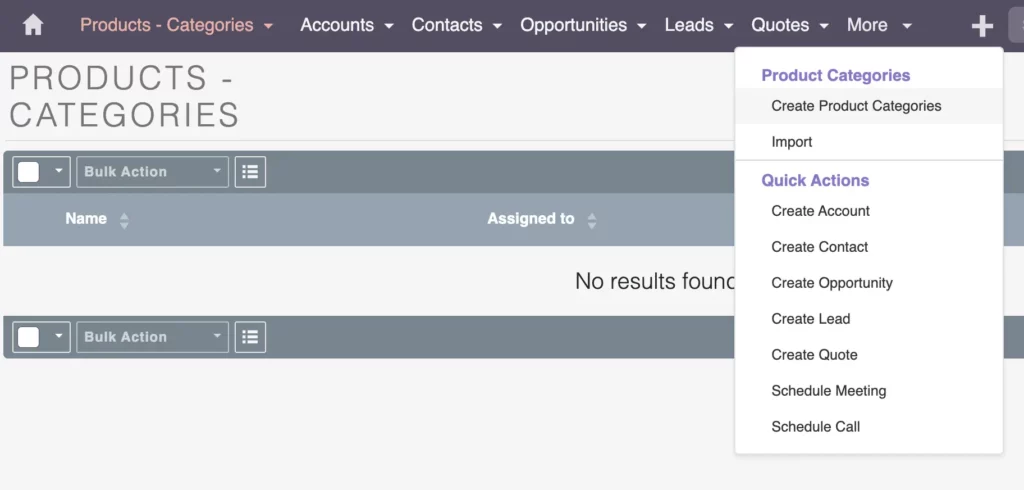
Navigate to the “Product – Categories” section in SuiteCRM and create your categories. This structured framework makes your products easier to manage and navigate. Setting up your product categories first lays a solid groundwork for efficiently managing your products within your CRM system.
Root Category
Begin by creating your root category.
As an example, suppose you’re designing and selling bags and shoes. In that case, you’ll have 2 main groups: a service category (for design services) and a product category (for the actual items like shoes and handbags). This is a popular scenario in the D2C / B2B e-commerce space, where you manufacture / design products and sell them afterward.
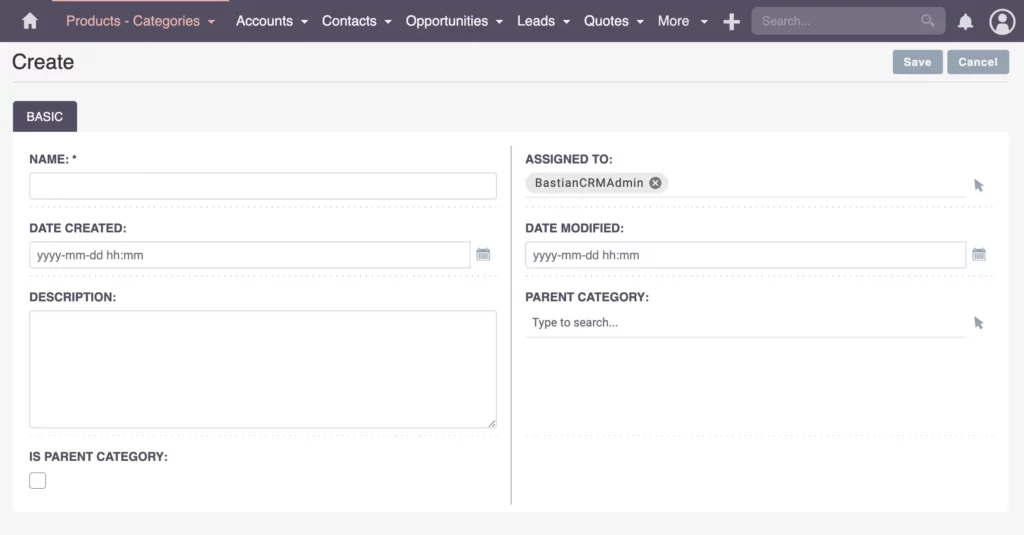
Create these categories starting with “Service”.
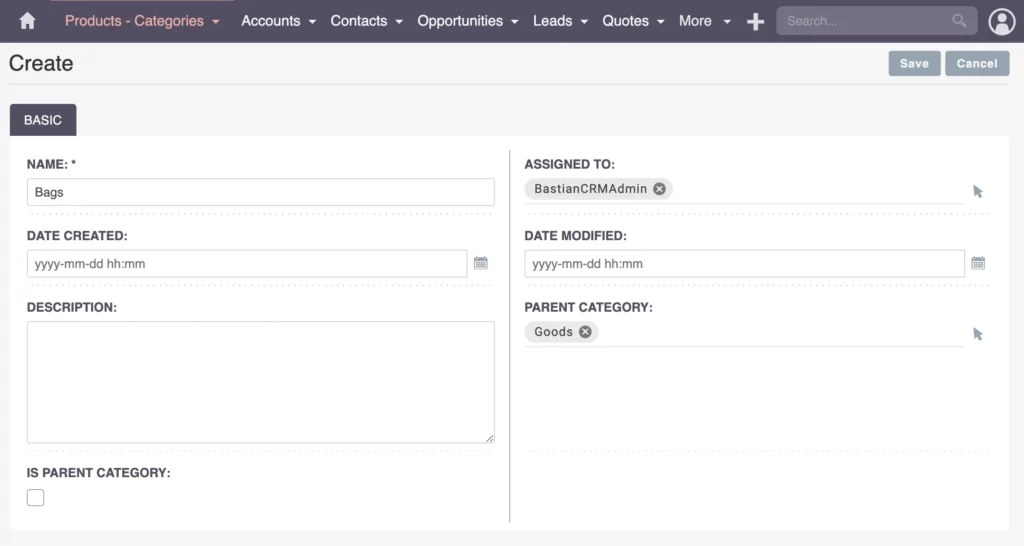
Assign this to yourself, depending on your permissions and role system. If different people need to work on various product groups, review the permissions and roles system. For more information, check out my video and article on SuiteCRM roles and permission systems.
Consider the fields for Date Created and Date Modified, depending on your needs. You might have a PIM system or a sunset date for categories, but usually, you don’t need to fill these fields.

Keep the description open for any notes you’d like to use. Since “Service” is a root category (parent category), check the corresponding box to mark it as such.
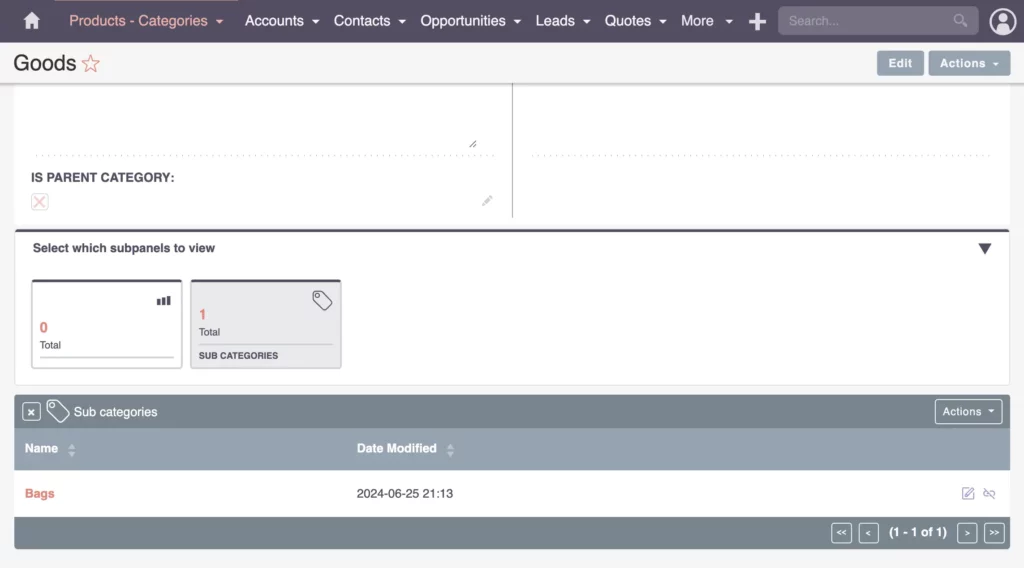
Save it, and you’ll see subpanels showing the total number of product records in this category. You’ll also see how many subcategories are associated with this one. Since this category is already the one we’re going to use for our service, we won’t branch it out further.
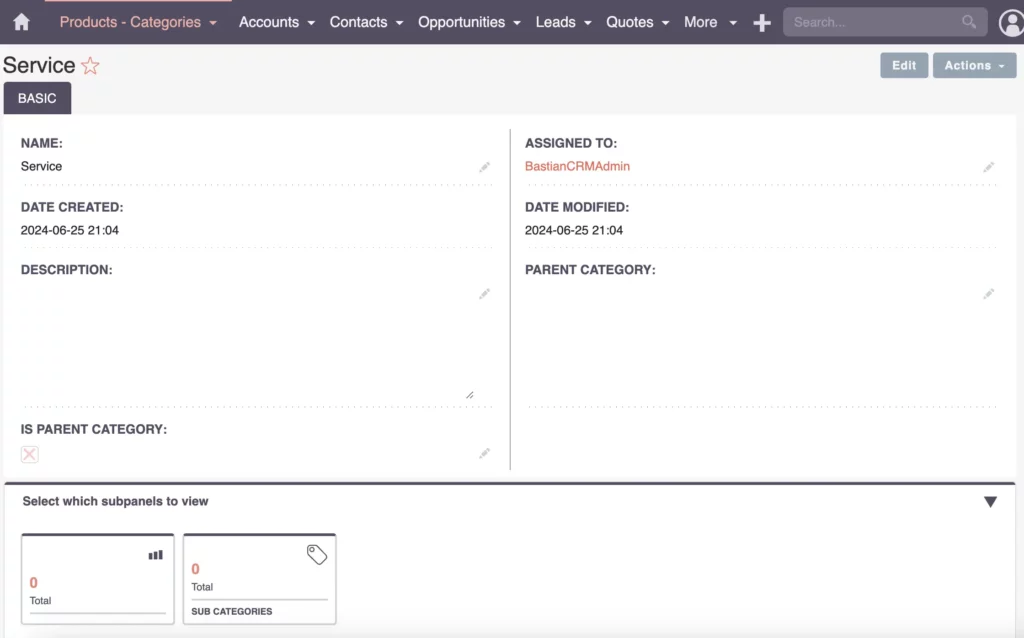
Next, we’ll create the “Goods” category accordingly for physical products we plan to sell.
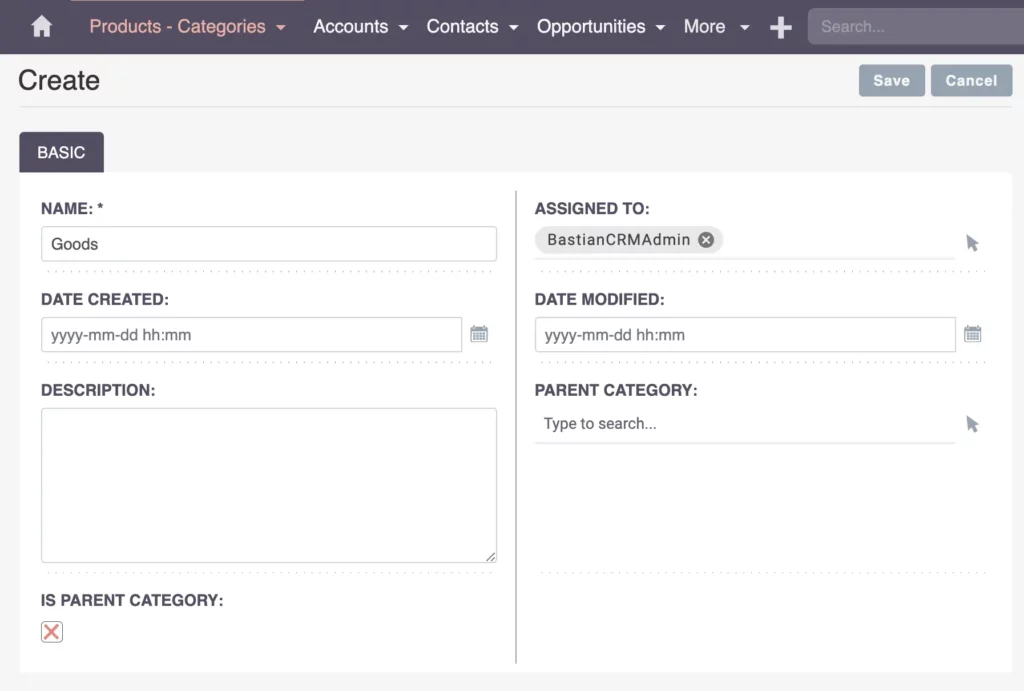
Sub Category
Once your root category is set up, create subcategories under it.
For example, under the “Goods” category, you can add subcategories like Bags and Shoes. Make sure to select the correct parent category to ensure proper categorization.
In the list view, you might want to display more columns, especially if you’re working with sunsetting groups or reporting on product categories. You can add more fields as needed. For more details on configuring views and adding fields, check out my videos on SuiteCRM Views and SuiteCRM Fields.
Create a Product
SuiteCRM Products: How to Create a Product
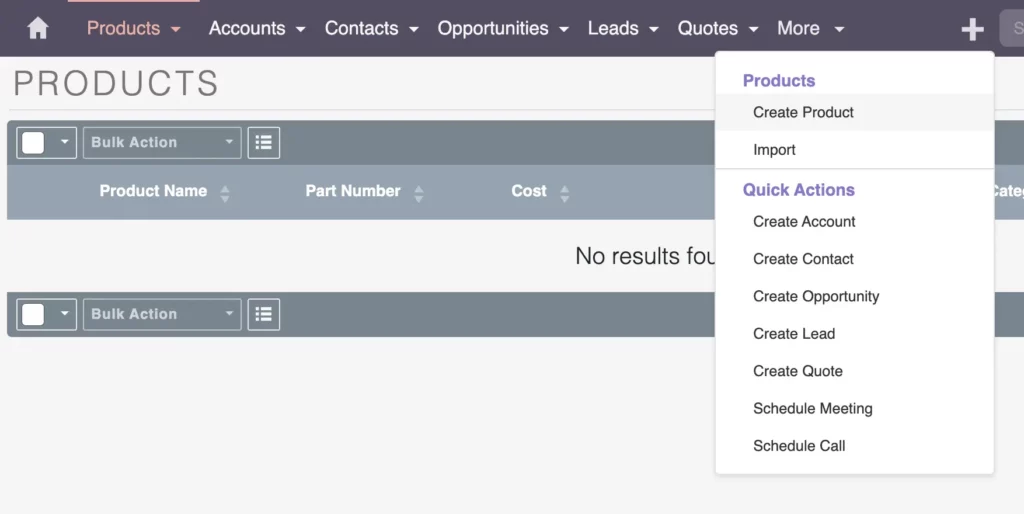
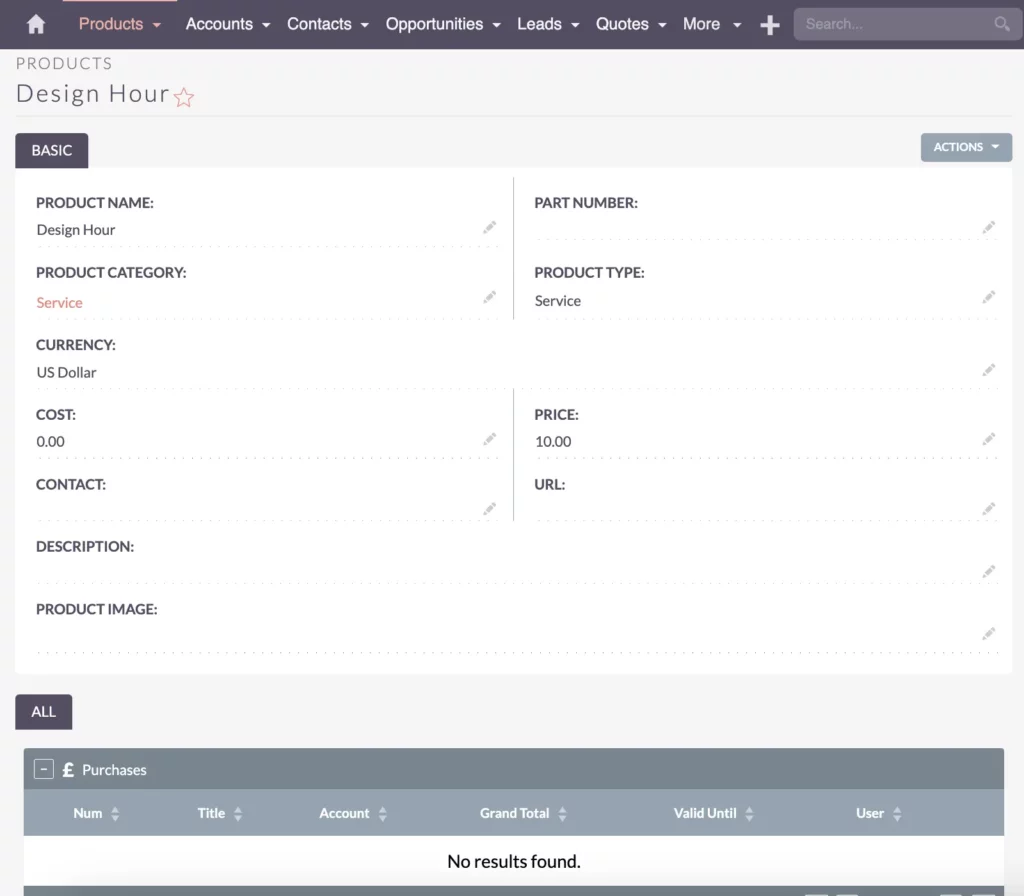
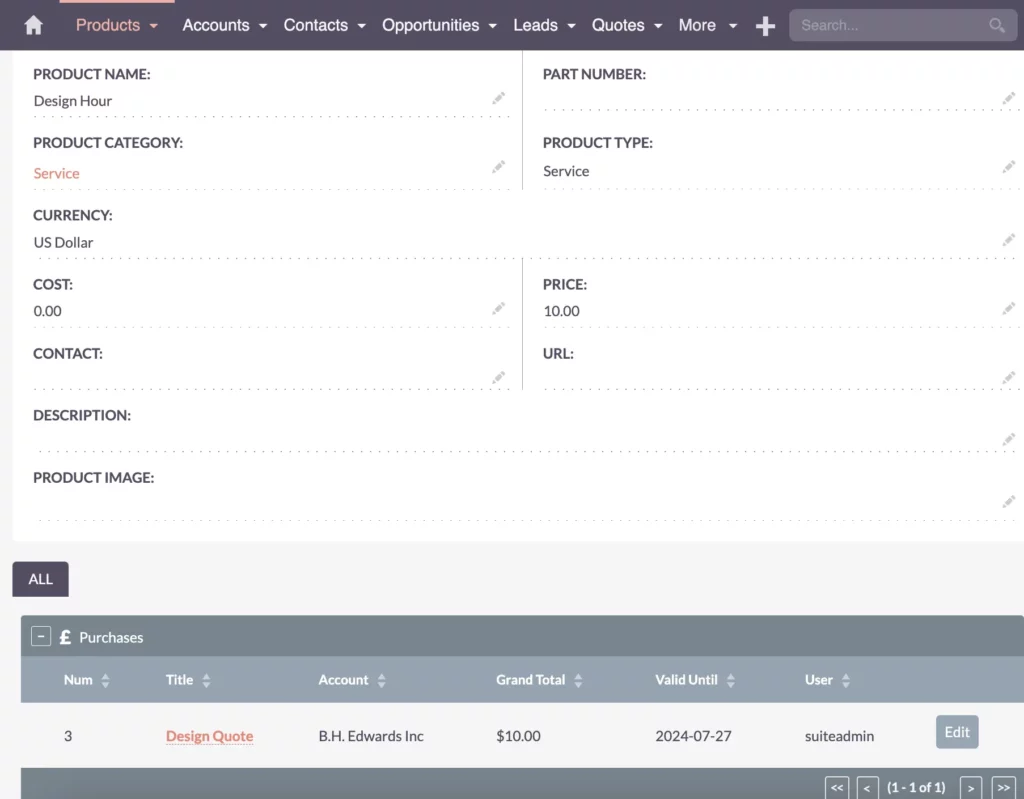
After setting up your categories, it’s time to create products within these categories. Let’s start with a product like the “Design Hour” service.
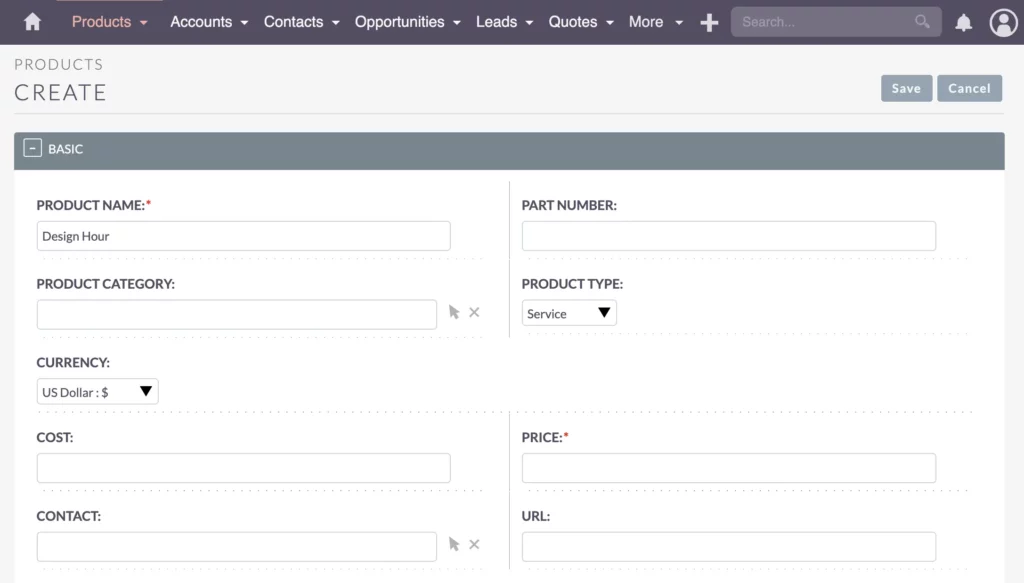
Configure the necessary fields such as product category and currency. There are some fields you might not need, which you can configure using the Studio tool. For instance, you might want to remove the Part Number if you don’t use it.
Product Category and Type

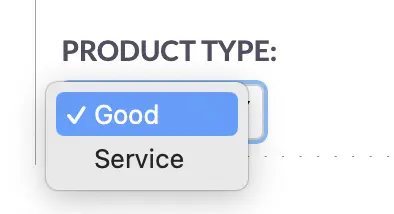
Pick the service category and set the type of product. If you need something different, configure the fields accordingly. For more details, check out my video on configuring fields in SuiteCRM.
Currency
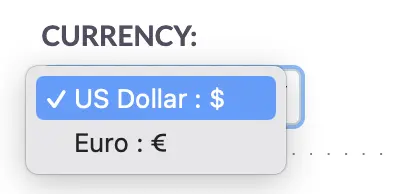
Setting up the currency is crucial. Enter the currency you use, and SuiteCRM will automatically handle conversions. For example, if you enter the price in euros, it can convert it to US dollars later. Check out my video on SuiteCRM currency for guidance.
Cost
Cost reporting is possible with SuiteCRM. I’ve done a couple of projects before, and though it’s a bit more complicated, SuiteCRM can handle price changes and generate revenue margin reports. It can organize your accounting data and export it to your accounting or bookkeeping system, allowing you to produce accurate data and reports.
Adding Product Details
The Contact Field might be useful if you have a supplier for this product. In supply chain management, you can link suppliers to products. For instance, in a project where we worked with 10-15 different suppliers, we used SuiteCRM not only for managing sales but also for overseeing the entire supply chain.

SuiteCRM can manage both sales and supply chain processes. You can create accounts and contacts for suppliers, just as you do for customers, ensuring all relevant information is easily accessible.
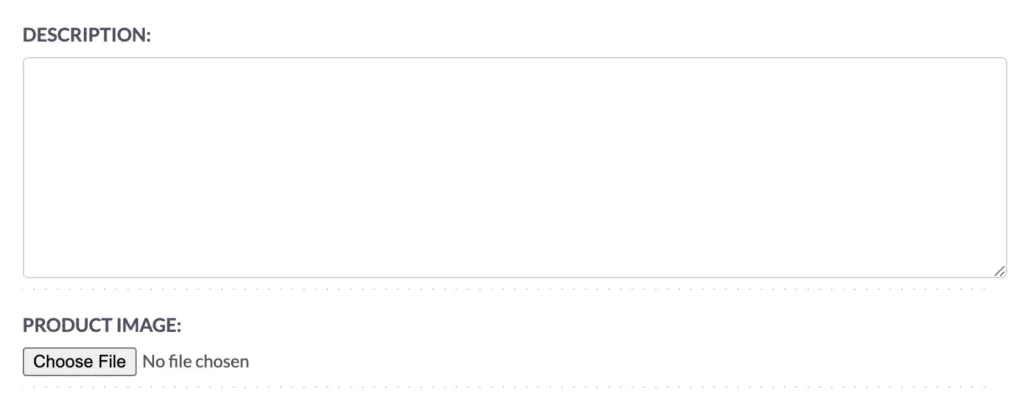
Add a Description and Product Image if needed. For now, let’s keep it simple and click save.
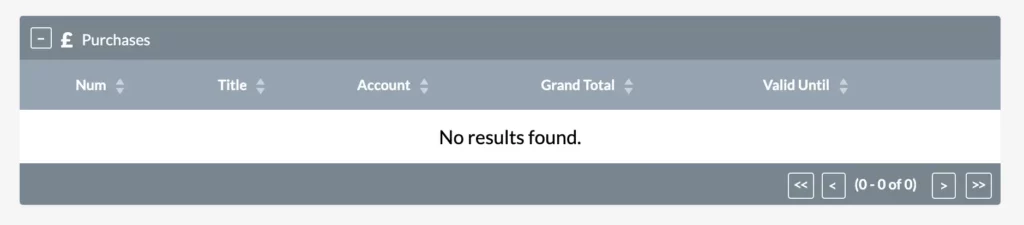
Now, you have your first product with its category. Inside the product section, there is a subpanel related to quotations that are already closed and invoiced.
Check out my video on SuiteCRM Quotations for more details on how it works.
When you navigate to the Service section, you’ll see a record of the product listed there. Everything is working smoothly so far!
Adding Another Product
Next, add another product in a different category, such as a Bag.
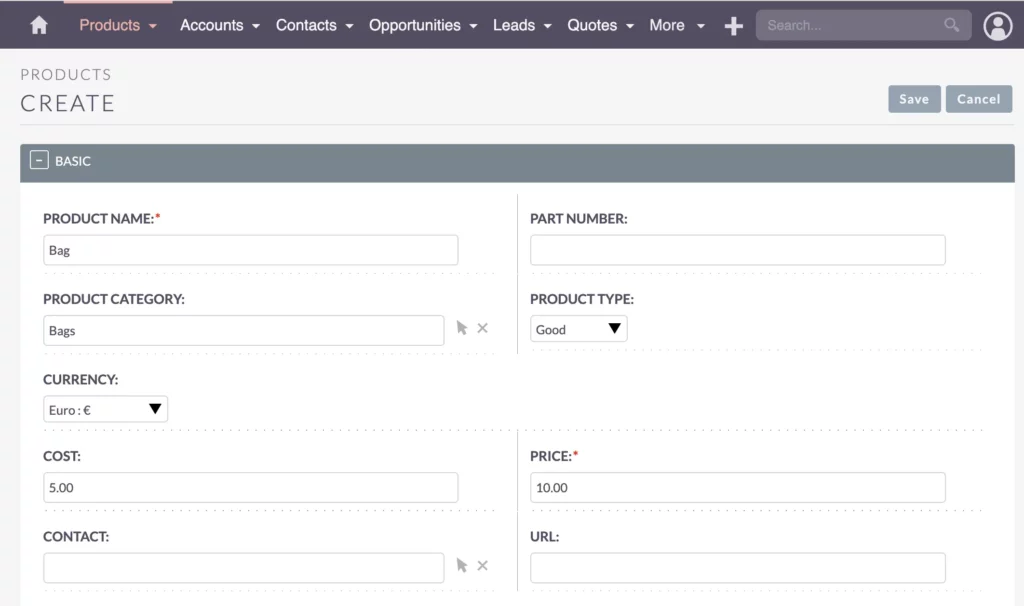
Select the appropriate category, set the currency, enter the price and cost, and link any relevant contact information. Include a URL for the product in your e-commerce store if applicable. You can also add product images. This setup focuses on the header and technical data of the product.
Now, we have successfully created two different products. Each product includes a category, price, and cost.
Integrating SuiteCRM Products to the Sales Process
Creating Quotations
Once your products and categories are set up, start integrating them into your sales process by creating a quotation using one of the products you added.
For example, you can see the purchases under the “Design Hour” product. This goes through the Quotations. If someone requests a design quote, switch the quote stage to “Closed Accepted” for demonstration purposes.
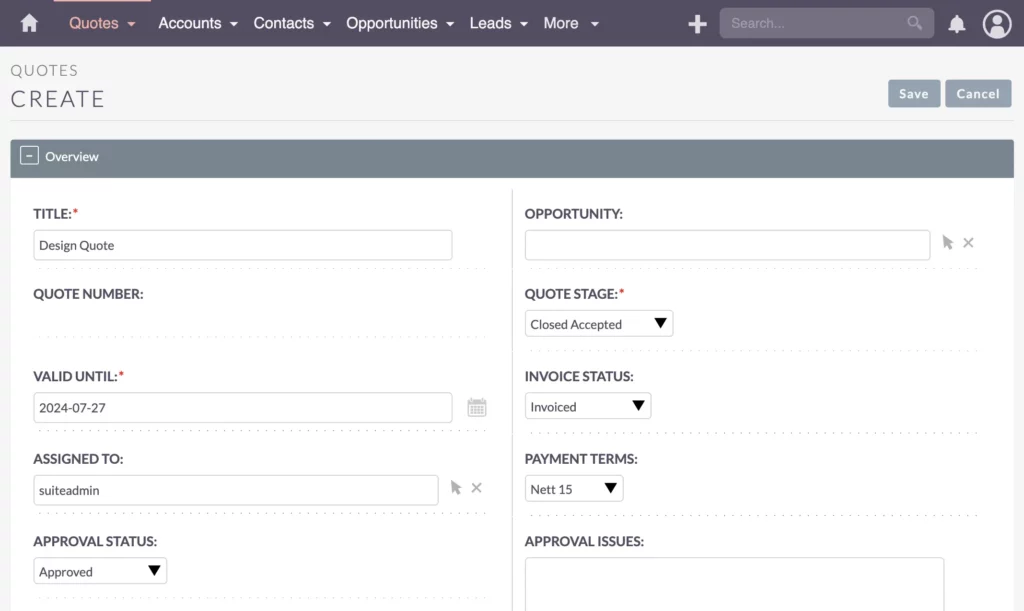

Add the product to the quotation, set the invoice status to “Invoiced,” and link it to a company.
As you can see, it now works. This setup is necessary for the product to display the data in the subpanel. It can be a bit tricky to figure out at first, but it becomes clear with practice.
Be Careful with Quotations

You need to be careful with quotations!
If you integrate your e-commerce systems, create one quotation with every single invoice automatically. If you don’t care about this data, you can skip the quotation step and create an invoice right away.
Bastian Hammer
However, tracing the entire customer sales cycle within your CRM system is beneficial.
In some e-commerce and CRM integration projects, you have a mix of B2C and B2B or online and offline processes. Ensure that the e-commerce store integration follows the same processes or creates the same data records as your offline processes.
This consistency makes it easier for business analysts to make sense of the data. If your processes don’t align, you might have to migrate old data into the system later to match the reports you want. Make sure the processes fit your needs and requirements.
Once your products and categories are set up, you can move on to creating quotations and invoices in the CRM system.
Recap
SuiteCRM Products: Summary and Recap
Let’s quickly recap. You’ve seen how to create categories and subcategories inside your SuiteCRM system. Additionally, we created products for those different categories within the CRM system.
We also added a quotation using one of the products. This ensures that the data is organized as SuiteCRM requires, following the sales and product selling or purchasing process.
This structured approach helps maintain an organized overview, making it easier to manage quotations and invoices within your CRM. If you have any questions or comments, please leave them below. For more tutorials, check out my other videos and articles. Thank you for reading!